

For as long as I’ve been taking pictures of food, I’ve believed that beautiful food photography requires natural light.
But here’s the question – does it really?
For the last four years, as an elementary school teacher and a friend and a wife and a 9-to-5 working person who wanted to enjoy a small amount of weekend freedom, my schedule didn’t allow for time during the day to work with natural light. I felt like if I wanted to take incredible pictures of food, I needed to be waiting next to the window for that perfect ray of light. And I was frustrated.
Then, in 2014, I transitioned to blogging full time and had all the time and flexibility in the world to be able to take beautiful photos in perfect natural light all the time. Poof! Tadah! Zing!
Problem solved, right?
Not so much.
The Myth Of Natural Light
What I’m finding is that even as a full-time blogger who has access to natural light all day long, the quality of natural light is always unpredictable. We live in Minnesota (it’s January, so don’t even get me started on the whys), and the natural light in the winter months is… well, I’m looking out the window right now and everything is just sort of a murky grey.
Over the last few years I’ve felt like there had to be a better way than waiting around all day for those three minutes of perfect natural light.
And I have good news – there is a better way!
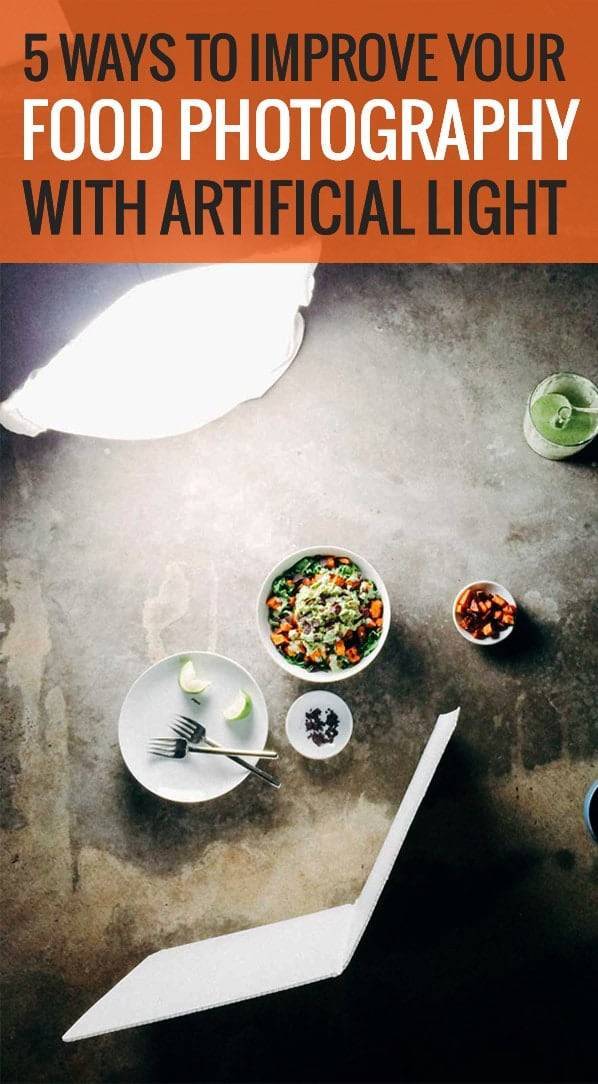
5 Ways To Improve Your Food Photography with Artificial Lights
So let’s hit up this artificial lighting for food photography topic with a tip list.
There are so many things that I’ve found to be helpful as I’ve created my own little artificial lighting studios anywhere from our basement to the dining room table to the kitchen countertops, so today I’m sharing 5 ways that I’ve been able to improve my food photography when using artificial lights.
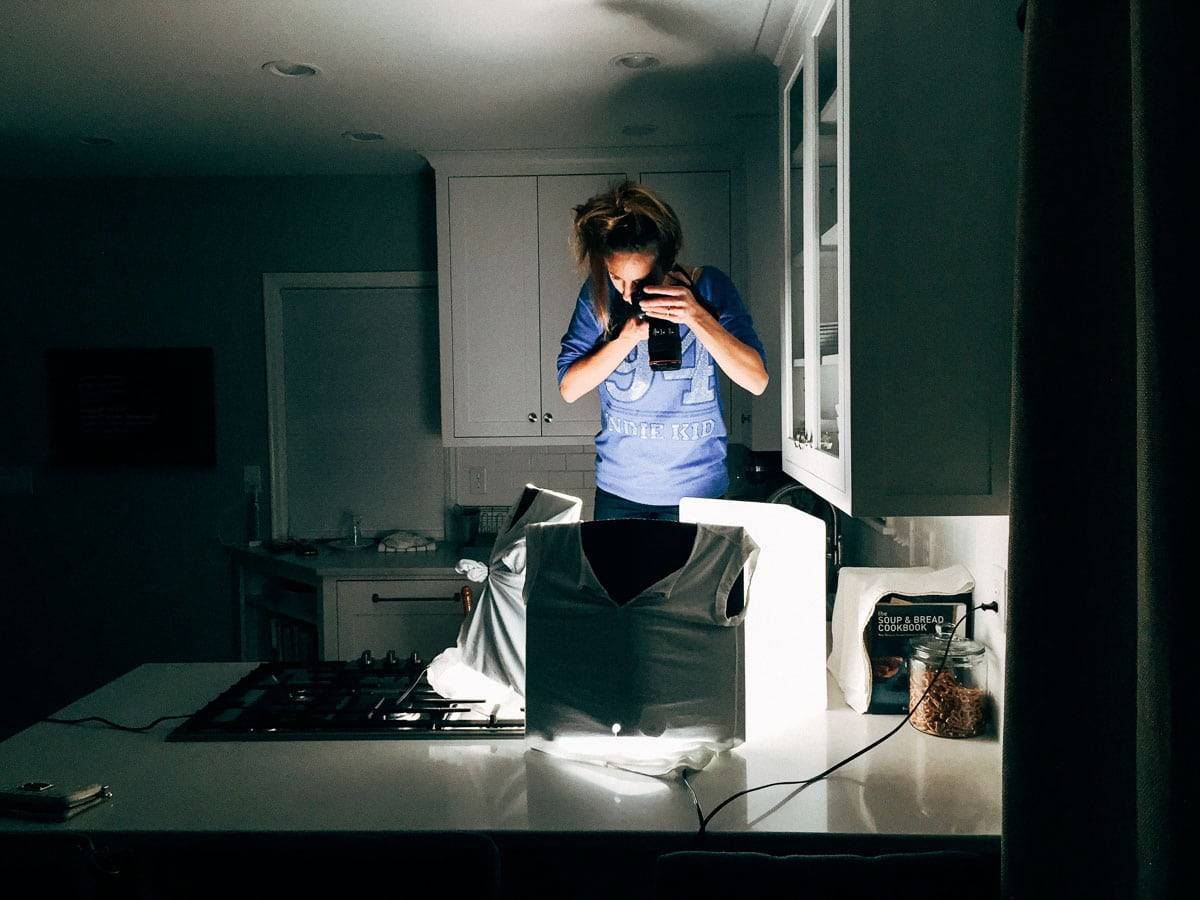
1. Ditch The Overhead Kitchen Lights.
See what I mean?
Don’t for one second think that those lights in your kitchen are going to make your food look good.
In addition to casting an unnatural tone (usually yellowish) throughout the whole photograph, the lights are generally anchored on the ceiling which means they splash light directly onto the food rather than highlighting from a side or back angle. That direct lighting will wash out your texture and make your food look flat and lifeless. Not good, my friends. Not good at all.
There are a number of stand-alone lighting units that can work for this type of set up, and I would venture to say that all of them – even the ones that aren’t necessarily daylight balanced – will be better than your overhead kitchen lights. We primarily use the Neewer Lighting Kit but for more on the specific types of lights and the benefits of each type, check out the bonus tip at the end of this post.
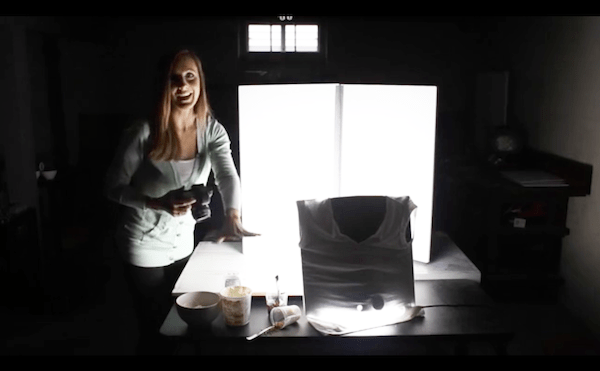
2. Close The Curtains and Turn Off All Other Lights.
Also, you must wear a clearance fake-diamond-bling Old Navy sweatshirt and have your hair in a messy bun. Err, uhm, WAIT DON’T LOOK AT THAT.
I find it much easier to get the look I’m going for when working with only one source of light.
So when you’re shooting with my artificial lights in a room that might still be getting some slivers of natural light, close all the curtains so you’re working in a very dark space with only one light source – your lighting unit. This gives you full control of the color tones, the light angles, and the overall look of the photograph.
To be fair, not everyone does it this way. I’ve seen photography studios where food photographers for large commercial shoots use both artificial light and natural light together, so this is less of a rule and more a matter of personal preference as far as what will make the set up and shoot go more smoothly for you. For me, it works best to just manage one primary light source.
3. It’s More Than Just The Light.

Using artificial light is more that just plugging in a lighting unit. This whole process is about knowing how to use the light, the reflector, the background, the diffuser, and any other relevant tools to control and manipulate the light. Think about this as a complete and harmonious set-up, not just turn-on-the-light-and-go.
This is a picture from one of the photo studios at General Mills here in the Twin Cities, and that’s a whole lot of equipment beyond just the light.
Also: now hiring someone to make this studio happen in my house mmkthanks.
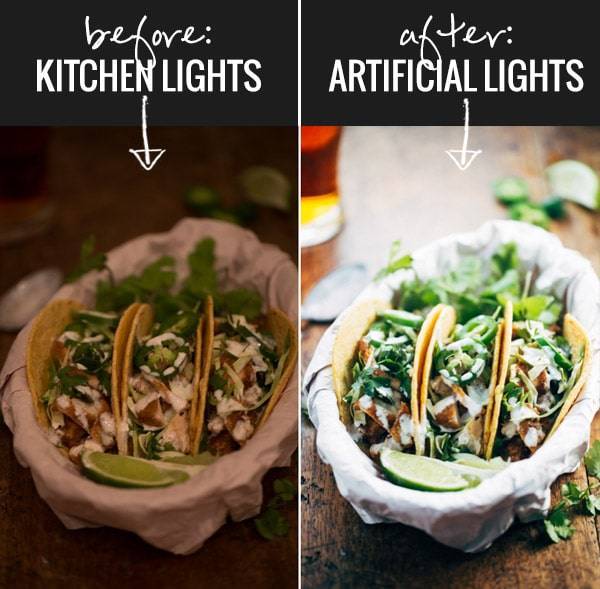
4. Shoot On a White Surface.
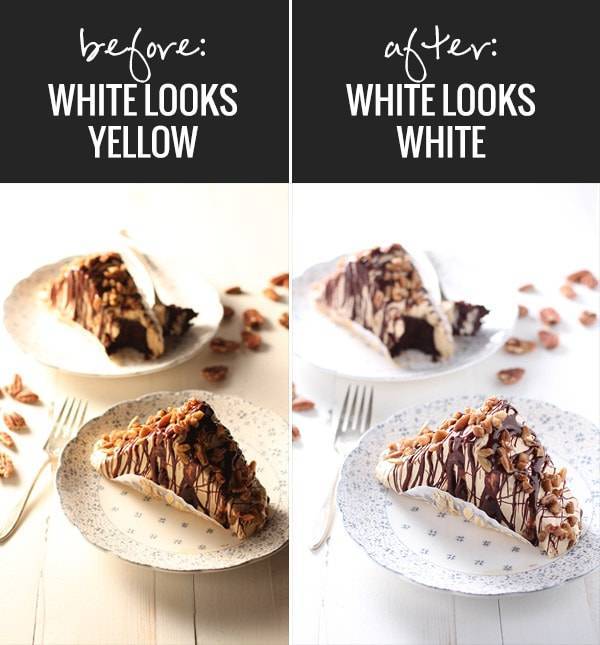
Shooting on a white surface helps you to be able to evaluate and adjust your white balance.
If you’re using a light that is casting an unusual color tone into your photograph, your white background (which, in this case, looks yellow) will alert you to the problem right away. This allows you to make custom white balance adjustments on your camera so that you don’t have to correct anything in your editing later on.
When in doubt, I usually opt towards bluer tones (the picture on the right) because I find that it’s easier to warm up and saturate the colors of a photograph in post-processing than it is to remove that yellow cast throughout the photo.
5. Know Your Manual Camera Settings.
Kind of an annoying tip, right? Because it requires some work. But this might be the single most important thing you can do to make yourself an all-around better food photographer.
Especially when using artificial lights, you need to know how to tell your camera what you want it to do. Learn aperture and shutter speed. Learn ISO. Learn white balance. Learn auto and manual focus. Learn them and practice them. These are super important nuggets of knowledge that you need in order to make the most of your artificial lighting set up for food photography.
And now, for a BONUS TIP!
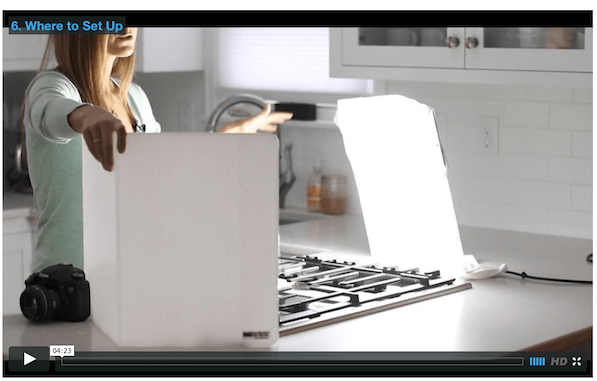
6. Artificial Lighting For Food Photography Course
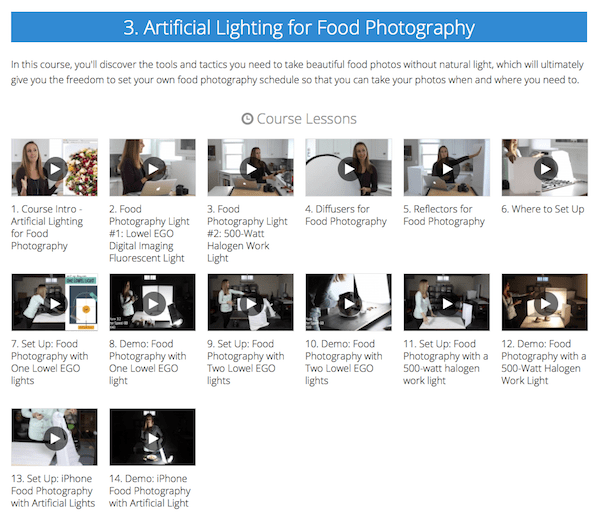
As of TODAY, our newest 14-lesson video course on artificial light for food photography is available on Food Blogger Pro.
In this course, you’ll discover the tools and tactics you need to take beautiful food photos without natural light, which will ultimately give you the freedom to set your own food photography schedule so that you can take your photos when and where you need to.
Wanna talk about it in person real quick?
Artificial Light For Food Photography (1 MIN):
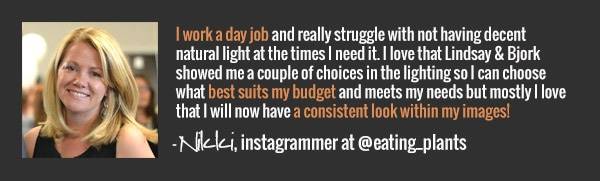
What People Are Saying About The Course
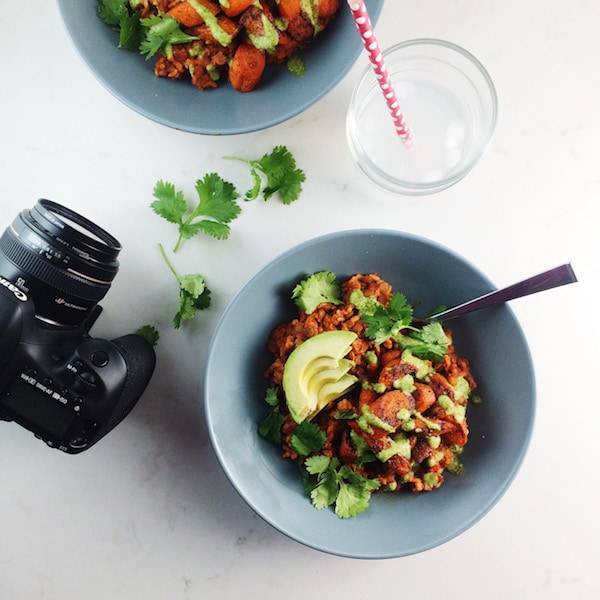
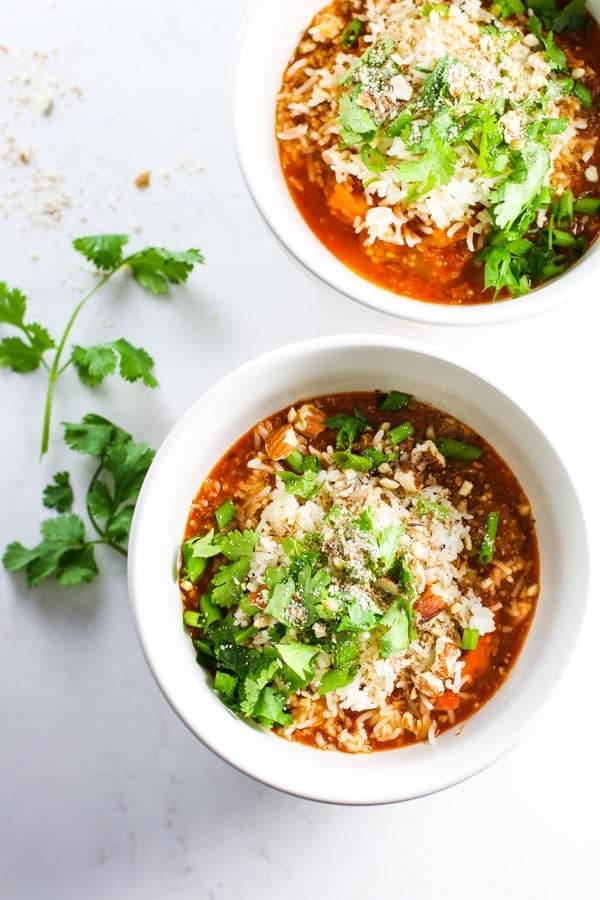
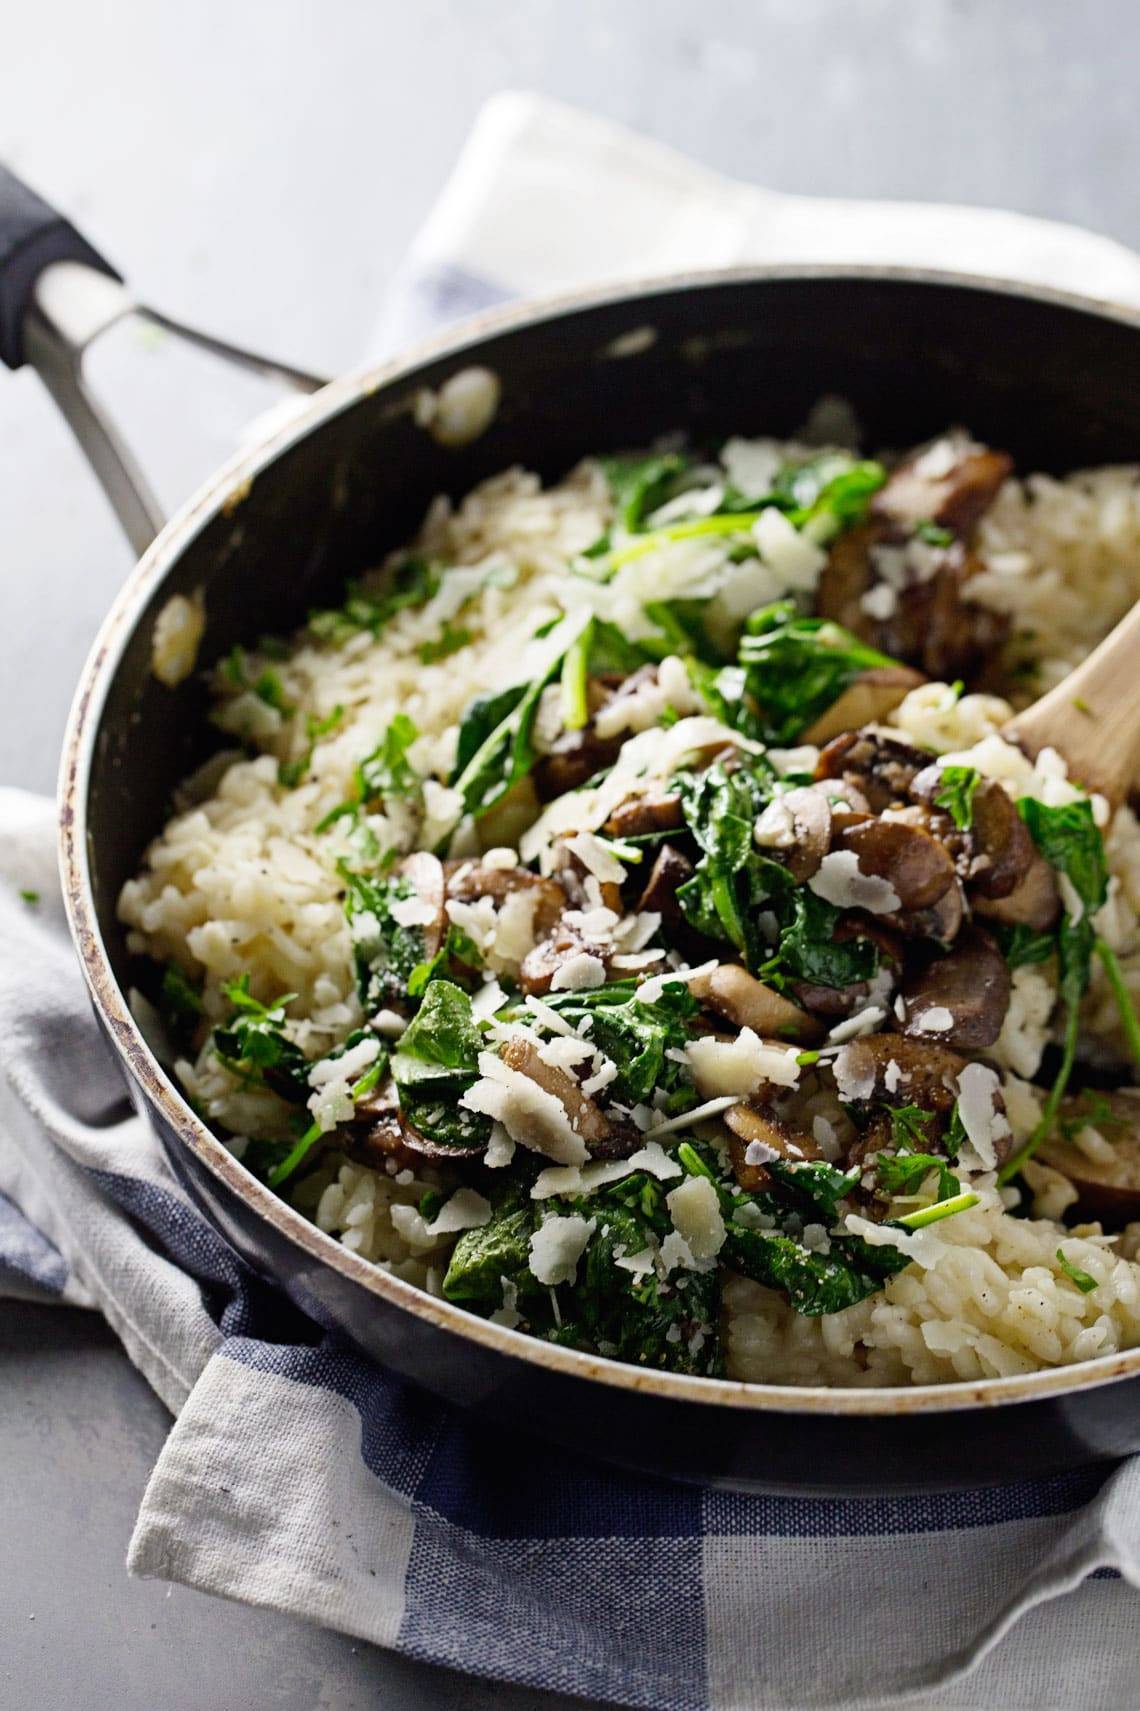
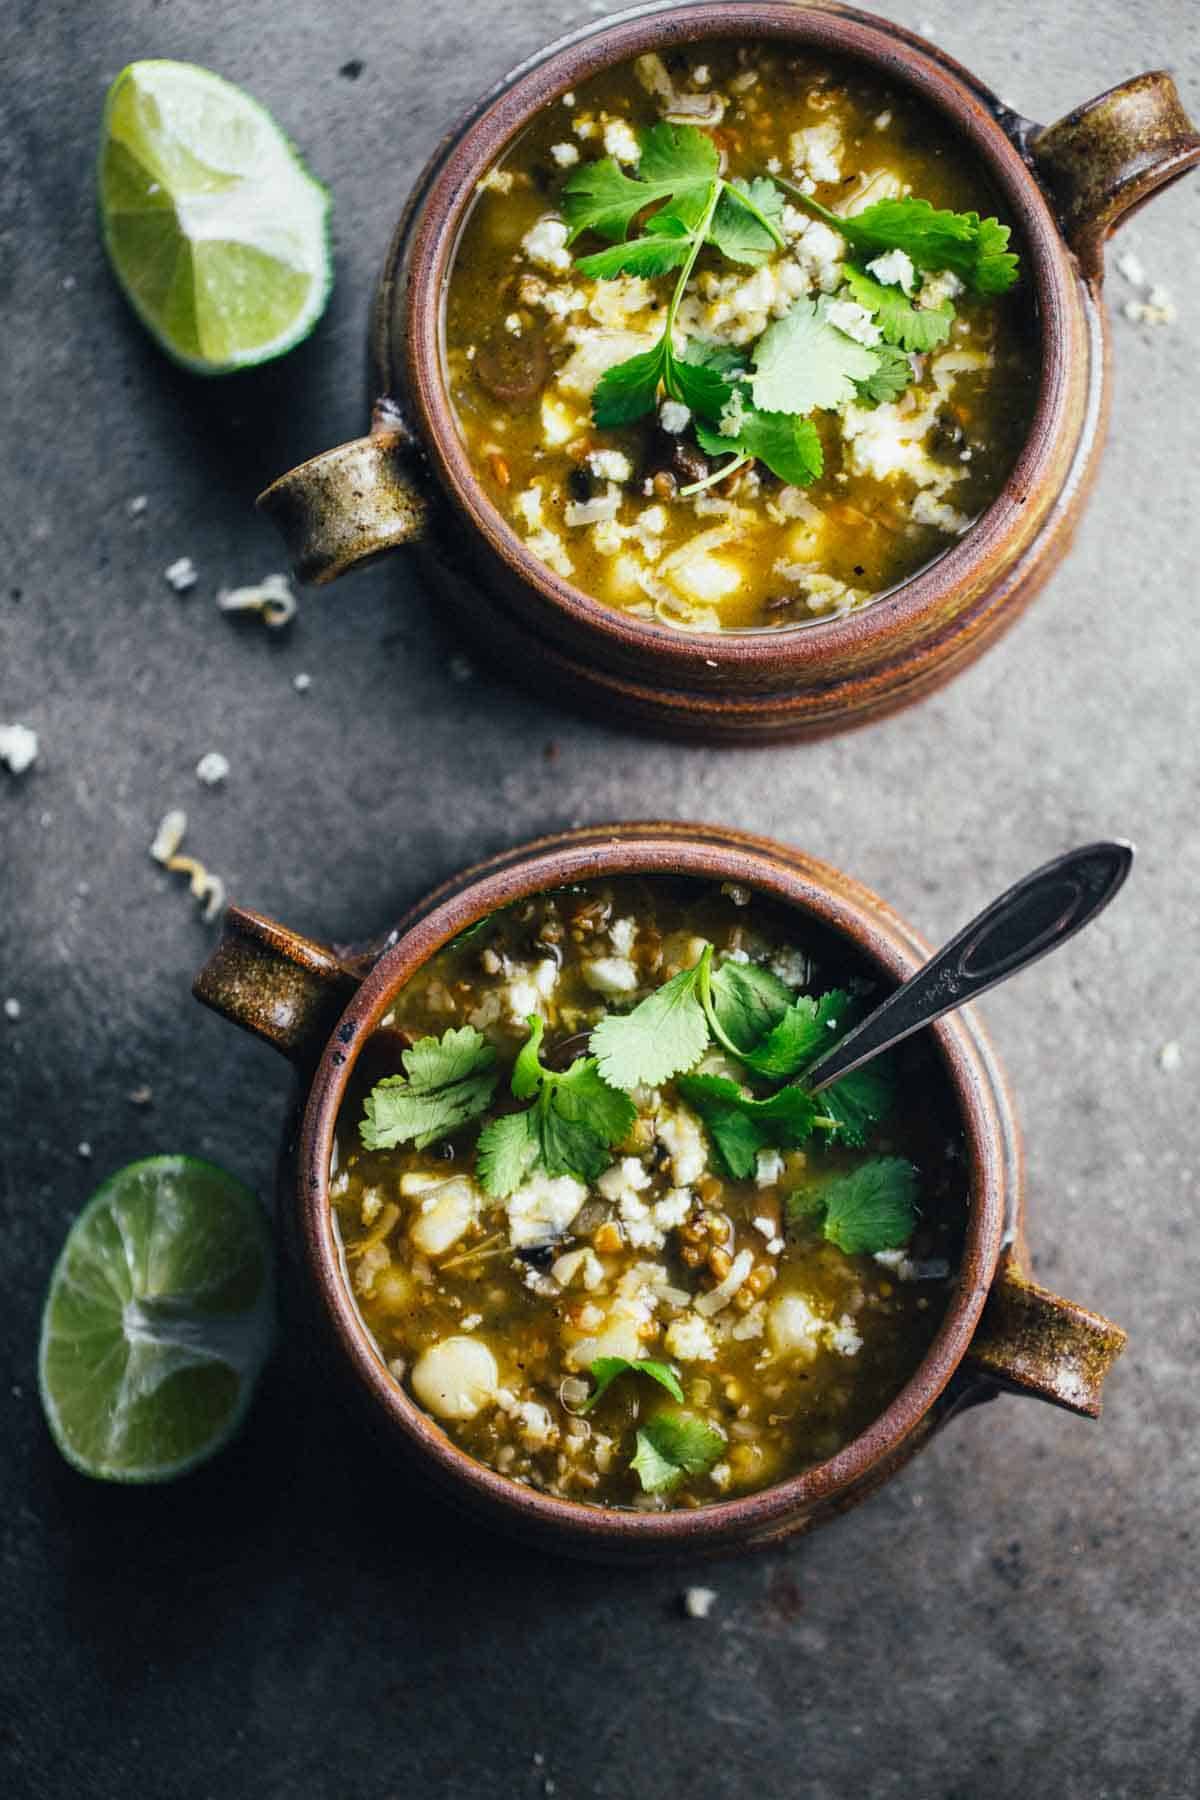
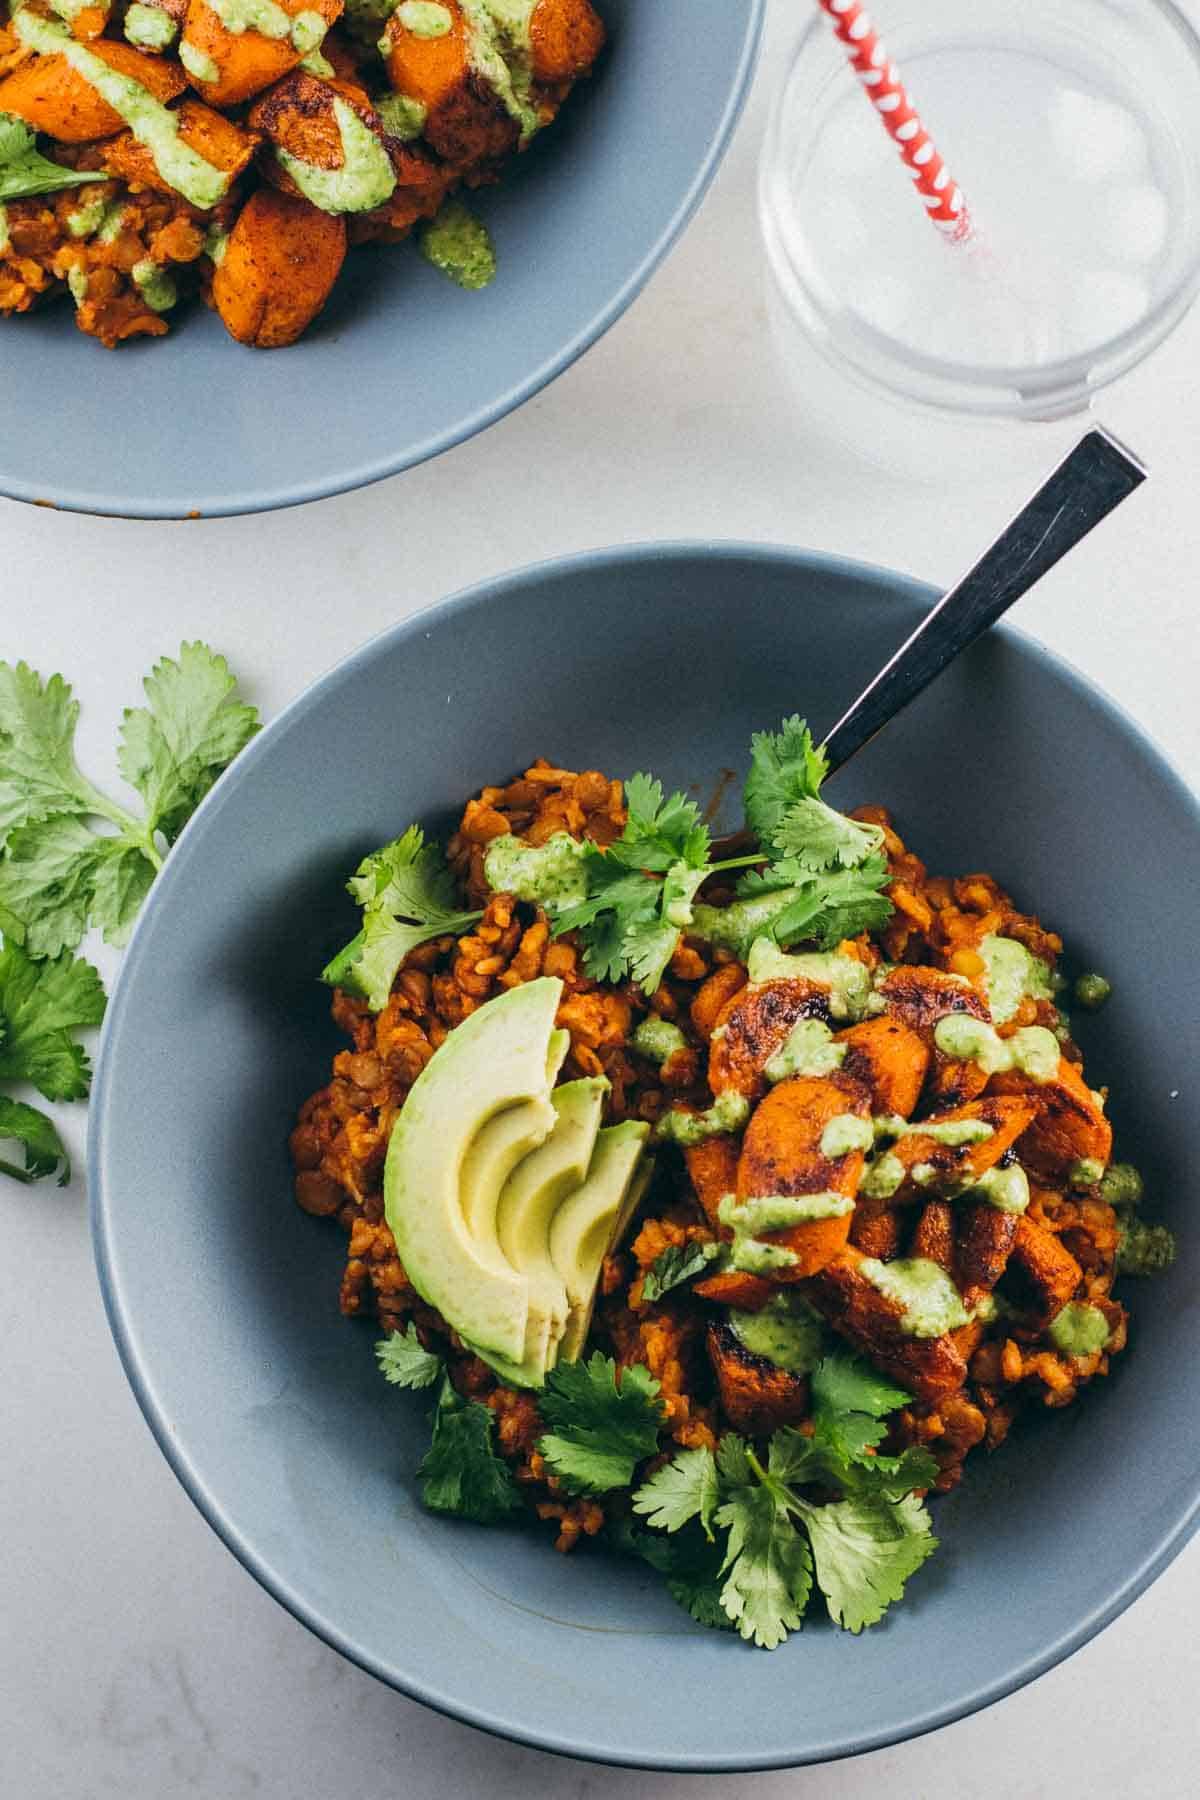
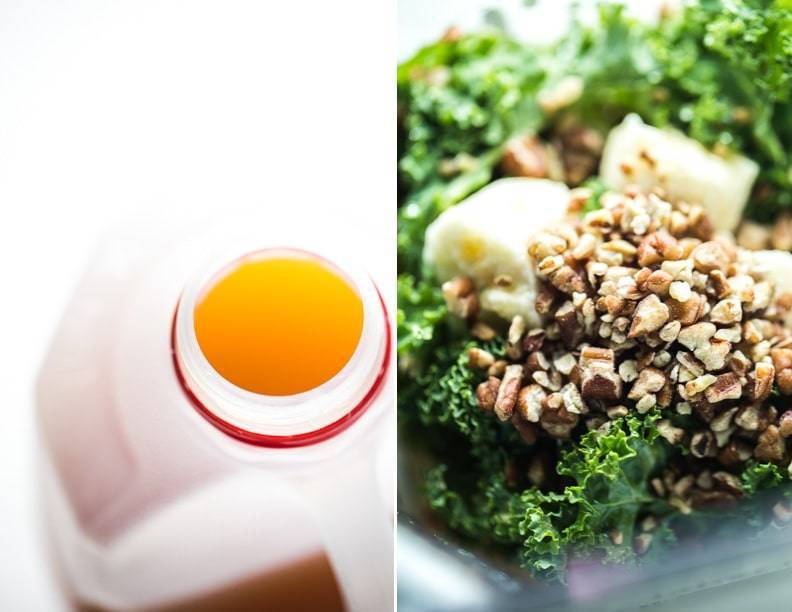
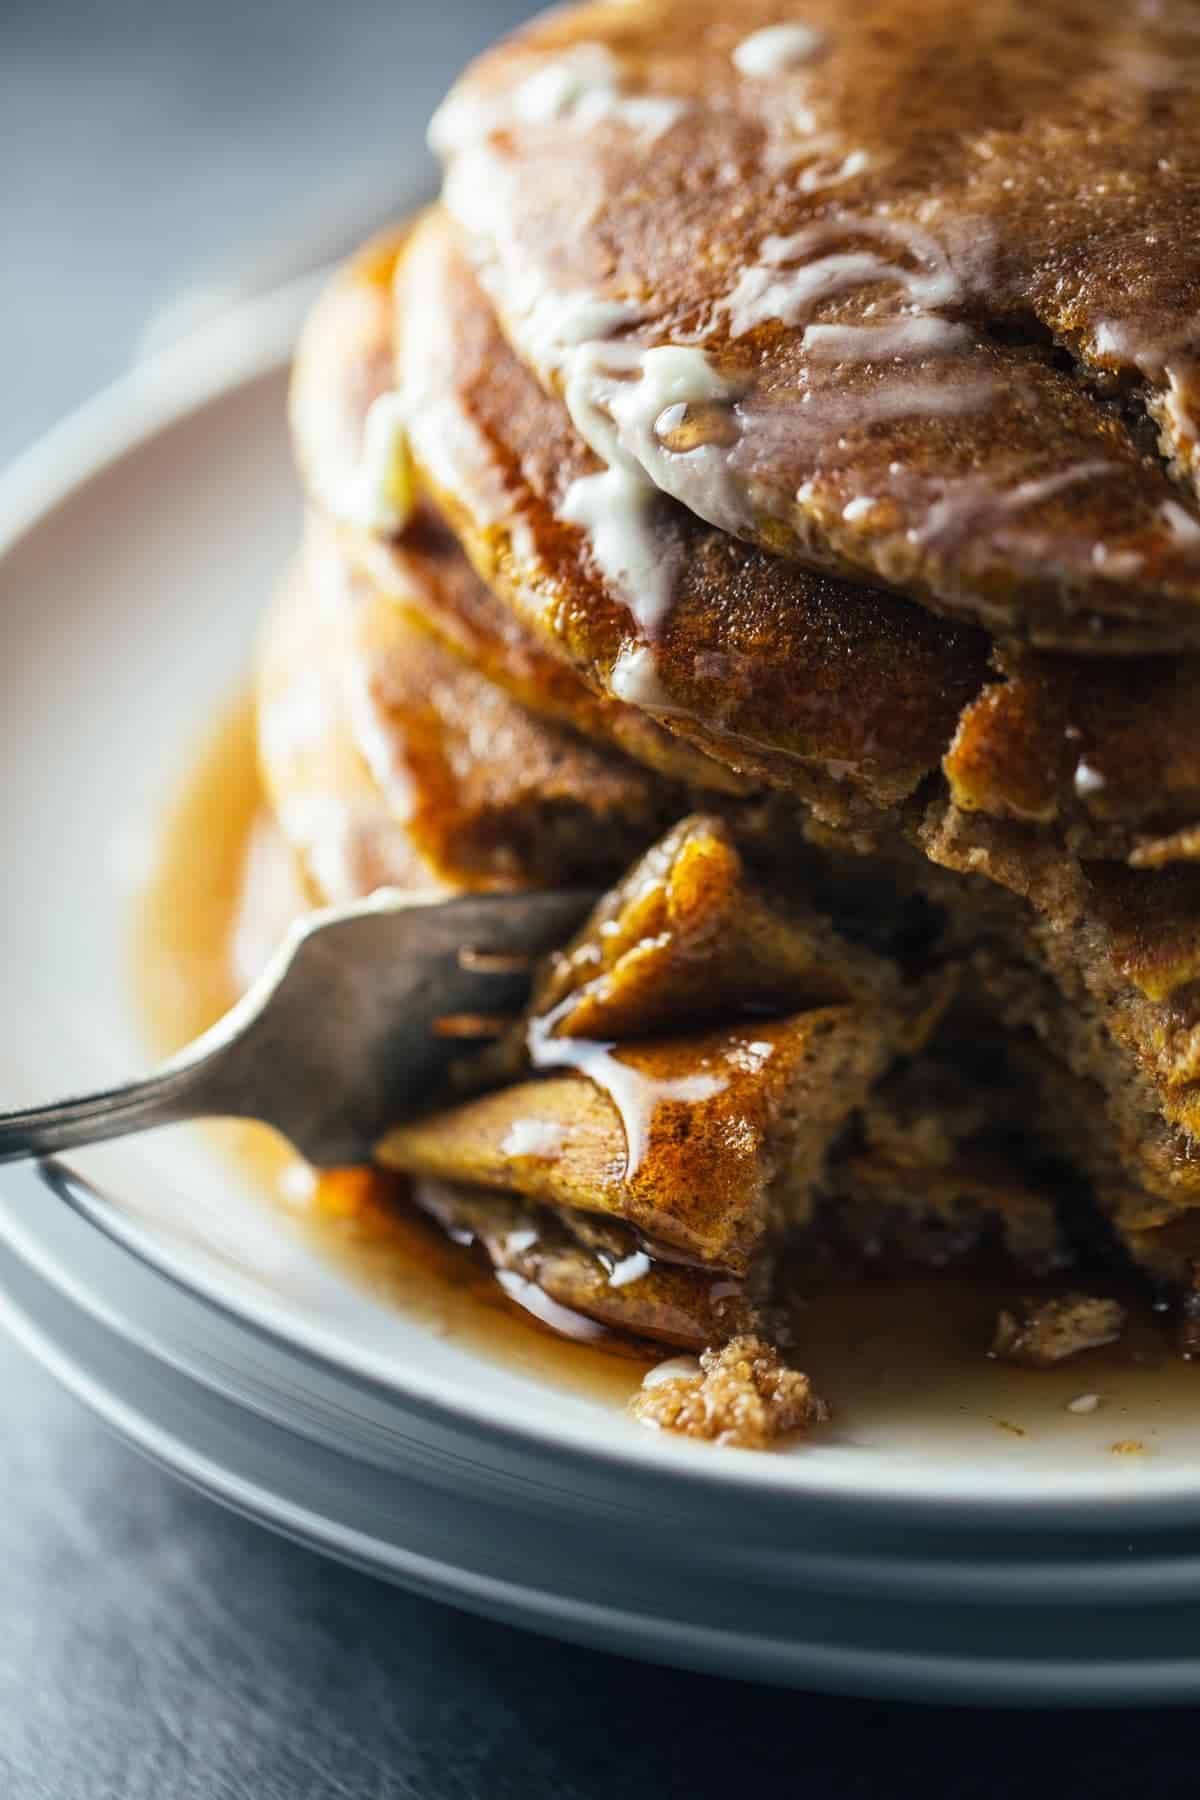
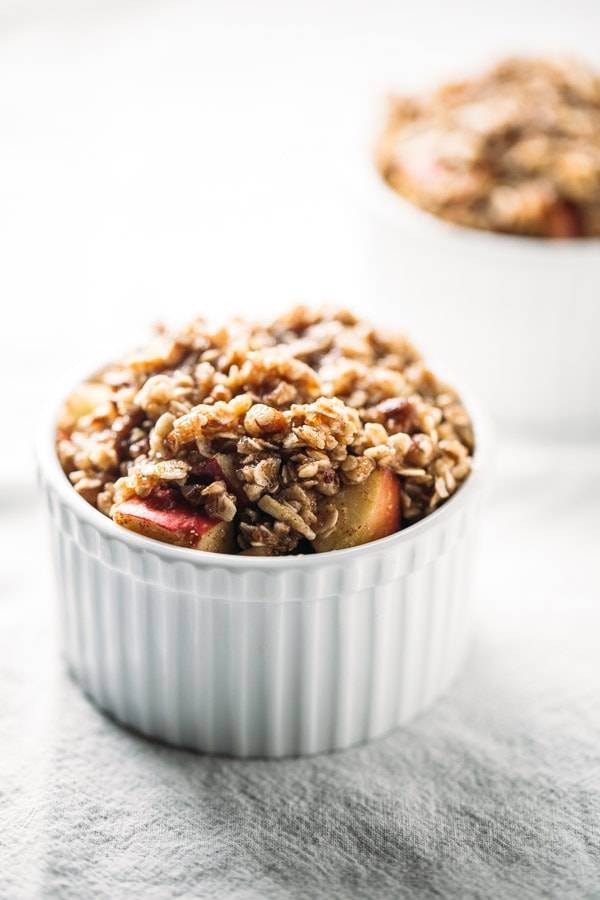
Photos I’ve Taken With Artificial Lighting
To my own surprise, the photos I’ve taken with my artificial light set up over the last year have rivaled some of my best photos taken in natural light.
What’s Included?
This course has 14 video lessons that go through everything you need to know about artificial lighting for food photography from equipment to set up.
It also includes three PDF guides – a manual cheat sheet, a set up diagram, and an equipment checklist.


When you register for Food Blogger Pro, you will not only get access to this 14-lesson course on Artificial Lighting for Food Photography, but you will also get access to the following:
- ALL 300 food blogging video tutorials
- the nutrition label tool
- our active community forum of over 800 food bloggers
And if you only want this course and nothing else, no problem! Sign up for one month and end your membership when you’ve gotten what you need.
How Much Does It Cost?
A one-month membership is $29, which gives you access to everything listed above including this course on Artificial Lighting for Food Photography.
How Do I Sign Up To Access The Course?
Sign up directly on Food Blogger Pro! This big grey button will take you right there.
Bjork and I are so thrilled to be sharing this with you today. Like, two seconds ago we just had a dorky celebration coffee cheers in honor of food, photography, lighting hacks, technology, and knowledge. Thank you for being a part of our little corner of the internet and allowing us to nerd out doing what we love to do – growing, learning, and challenging others to do the same.
Carry on, good food-and-camera-lovers of the world.
AND HERE’S TO FOOD PHOTOGRAPHY FREEDOM!
Want to be proud of your food photos? Check out our Tasty Food Photography eBook here!
The post 5 Ways to Improve Your Food Photography with Artificial Light appeared first on Pinch of Yum.