
This post contains referral links for products we love. Pinch of Yum earns a small commission on these links at no cost to you, and the links will always be marked with an asterisk. We ♡ honesty!
YESYESYES, we can smell it in the air, grilling season is upon us! All those delicious food swirls and scents filling up our warm blue skies. Here for it! Always.
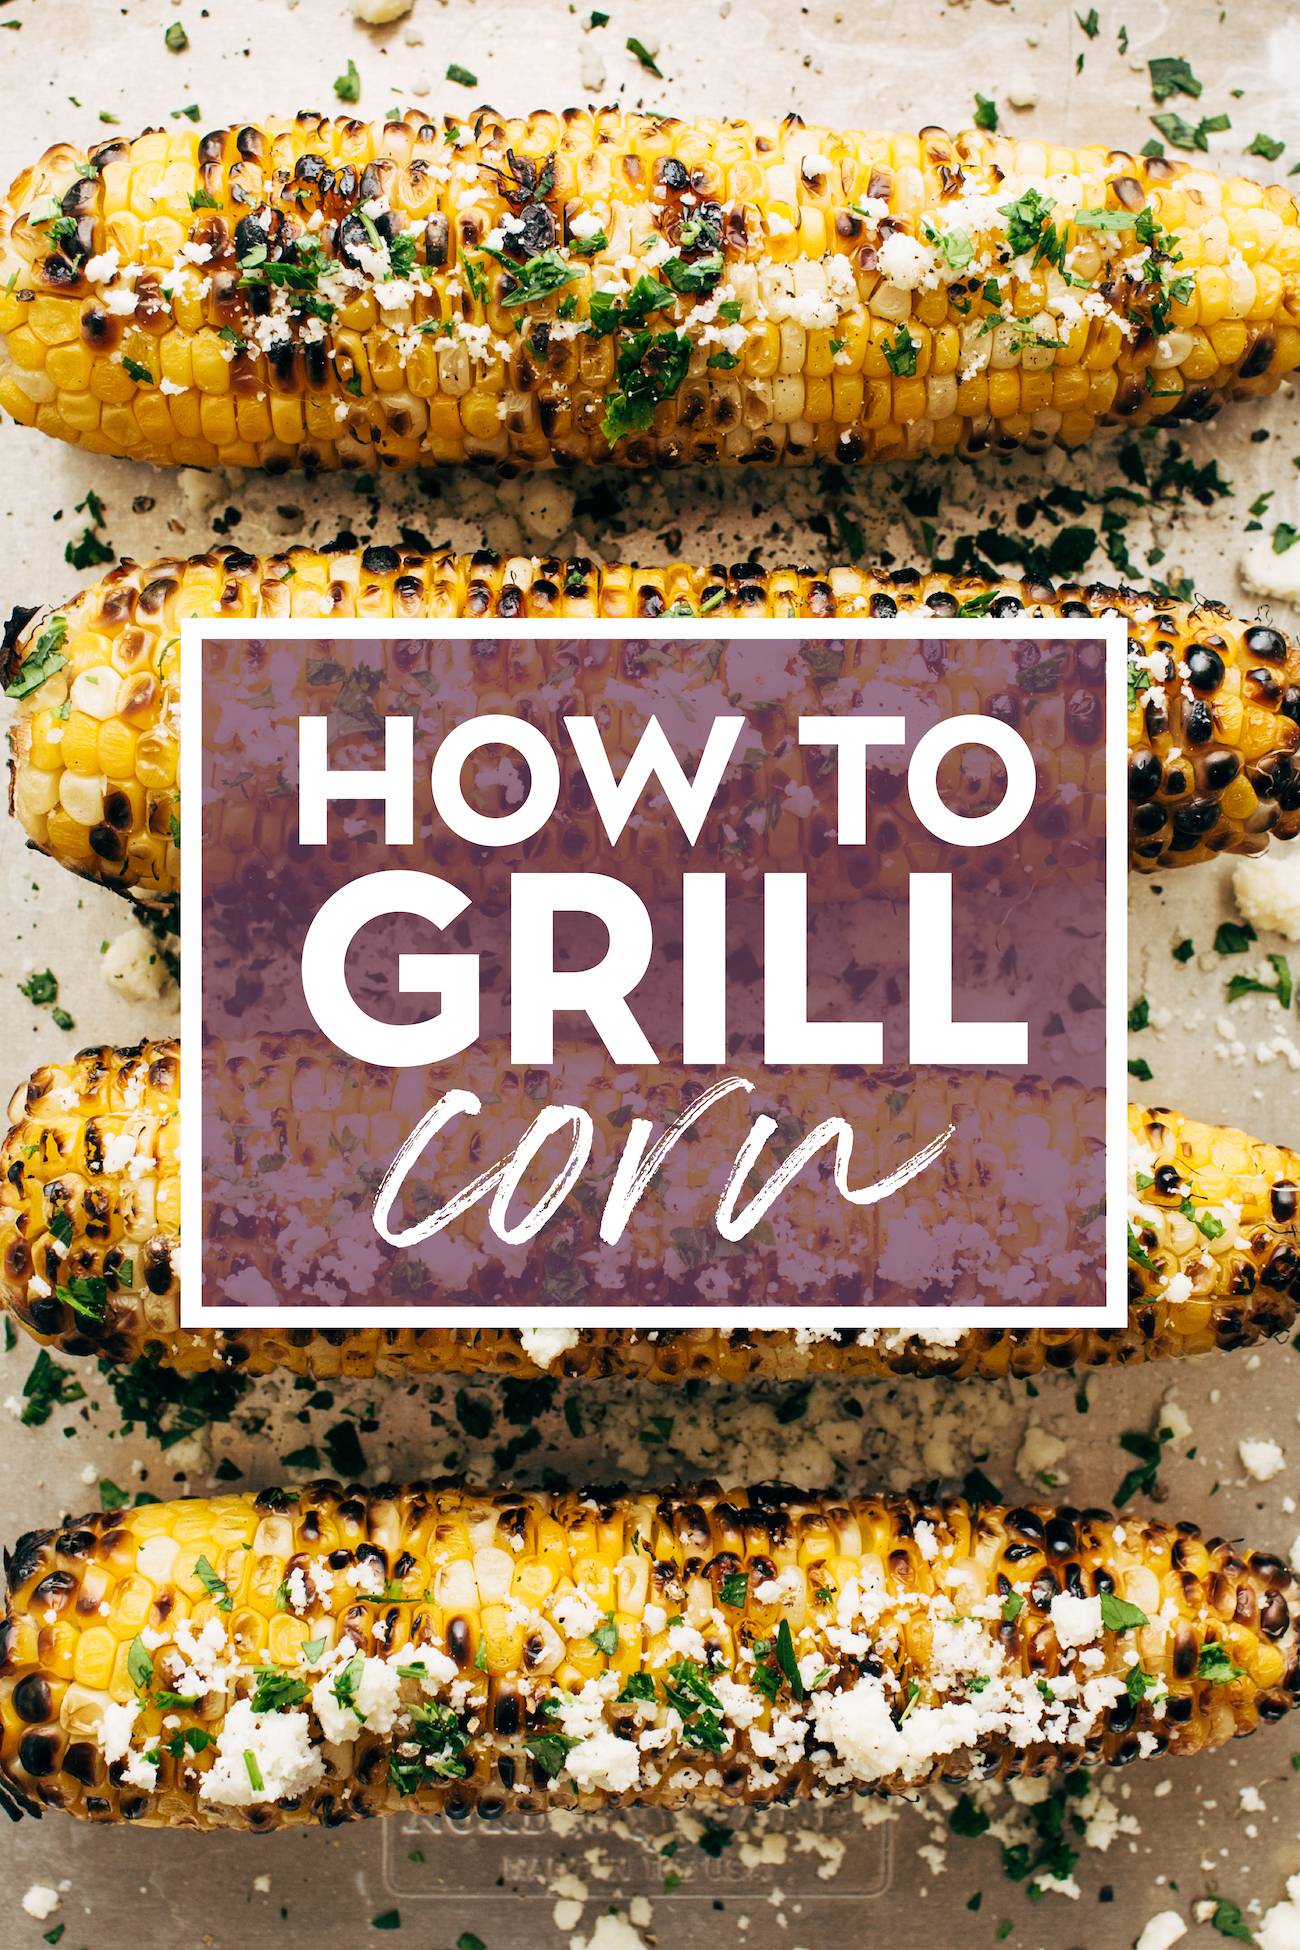
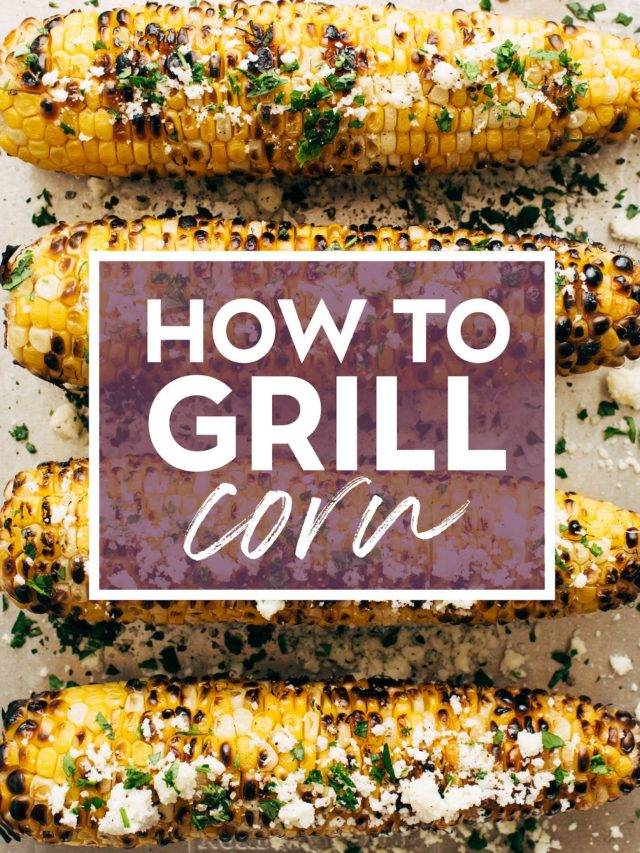
But move over (literally) burgers, dogs and other grillables – let’s get some bright golden cobs on those grates. If you have yet to know the exquisite taste experience of grilling your own fresh summer sweet corn, well, YOU ARE IN FOR A TREAT. Here are a bunch of methods, tips and tricks for all things grilling corn!
In This Post: Everything You Need For Grilling Corn
Ways to Grill Corn
- Before You Get Started: Defining Parts of Corn
- Method 1: In the Husk
- Method 2: In Foil
- Method 3: Directly on the Grill Grates
Other Tips and Tricks
- How to Remove Corn from the Cob
- How to Pick the Best Corn for Grilling
- Favorite Things to Make Grilling Corn a Snap
- Ways to Serve Grilled Corn (Flavor Ideas!)
- The Best Grilled Corn Recipes
Prefer To Watch Instead Of Read?
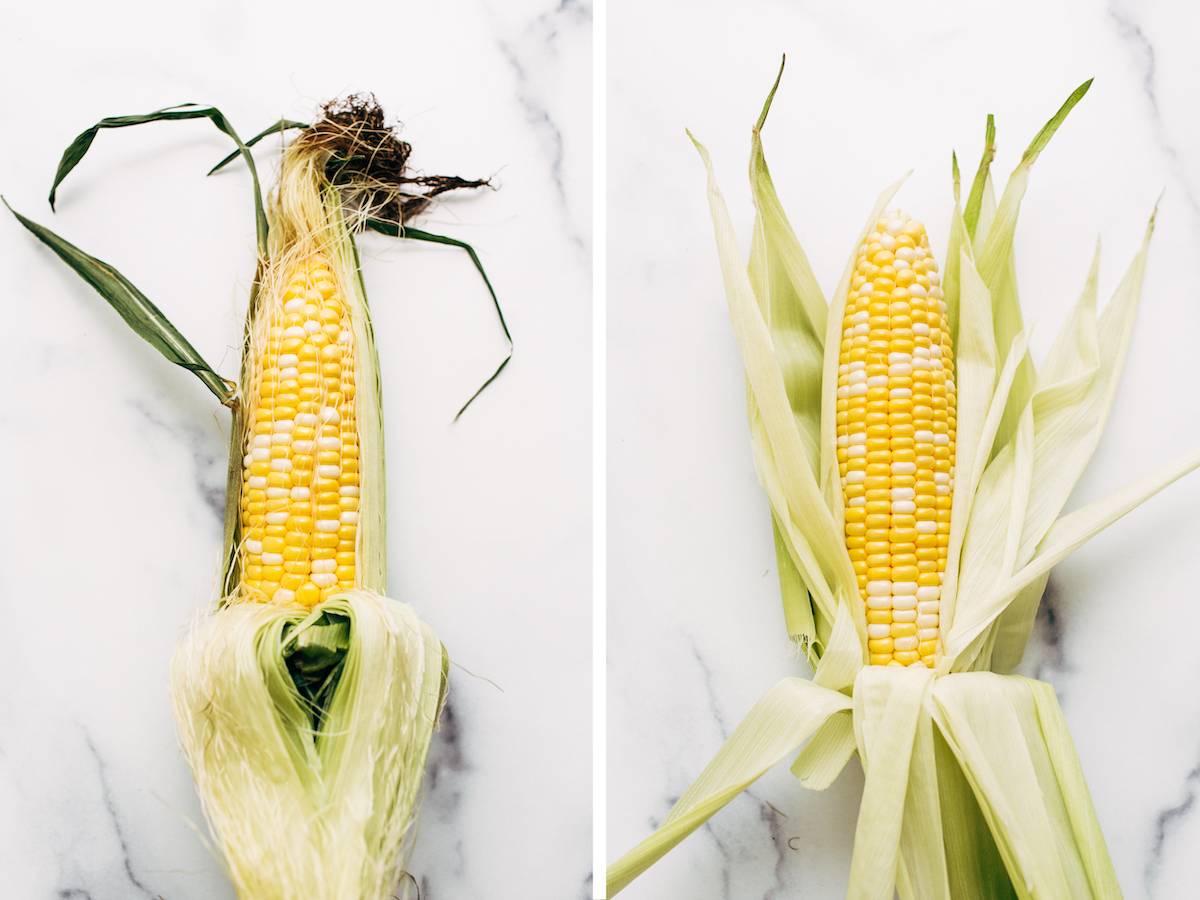
First, Let’s Define a Few Things
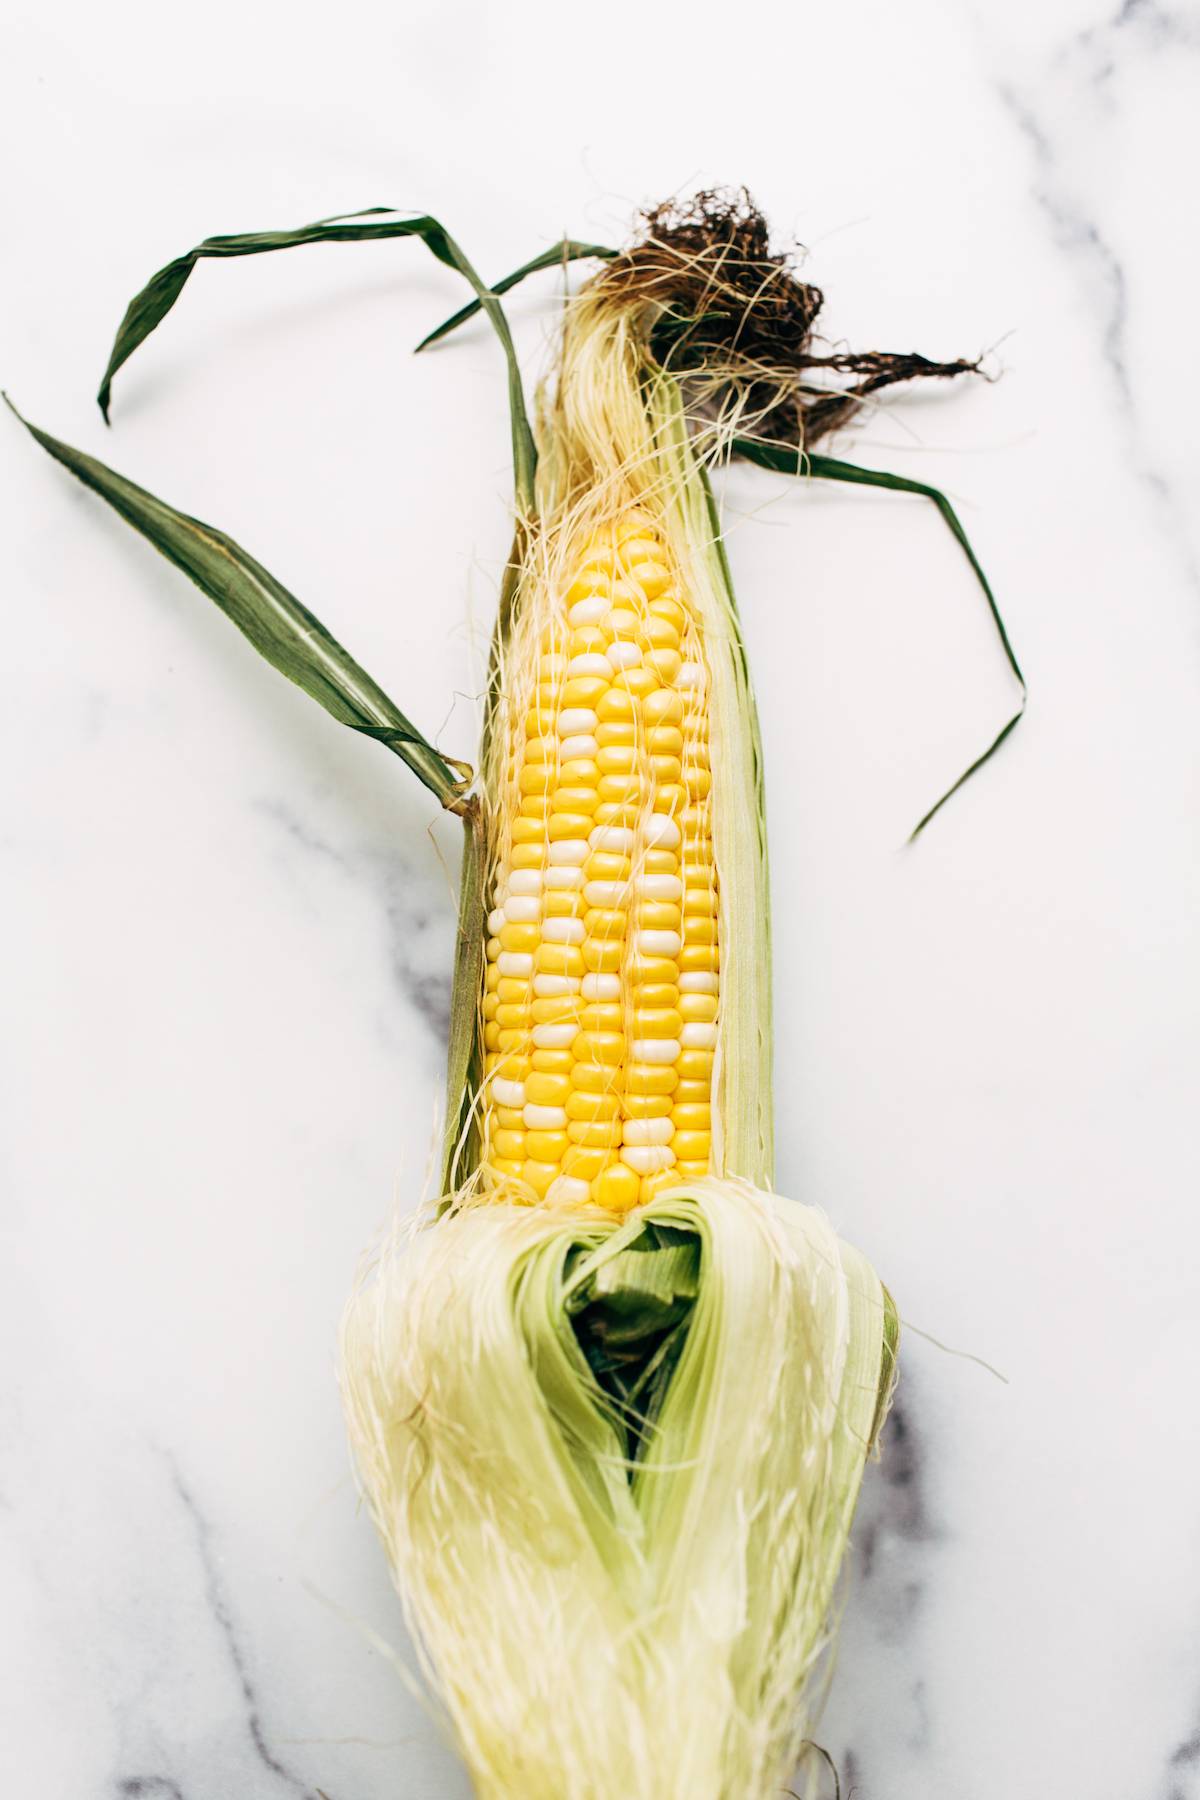
Cob, husk, silk, what? Before we make magic happen, let’s talk about what each of these mean.
- Corn on the Cob: The whole shebang! Cob, corn, silks, and husk – all together in one delicious little package.
- Cob: The central, middle, internal part to the corn on the cob – it’s what you’re left with after you’ve taken every last delicious bite.
- Silk: The stringy, thread-like stuff that sticks to the corn between the corn kernels and husk.
- Husk: The outside green leaves of the corn on the cob, attached to the base of the corn on the cob.
Ready? Let’s go!
Method 1: Grilling Corn In The Husk
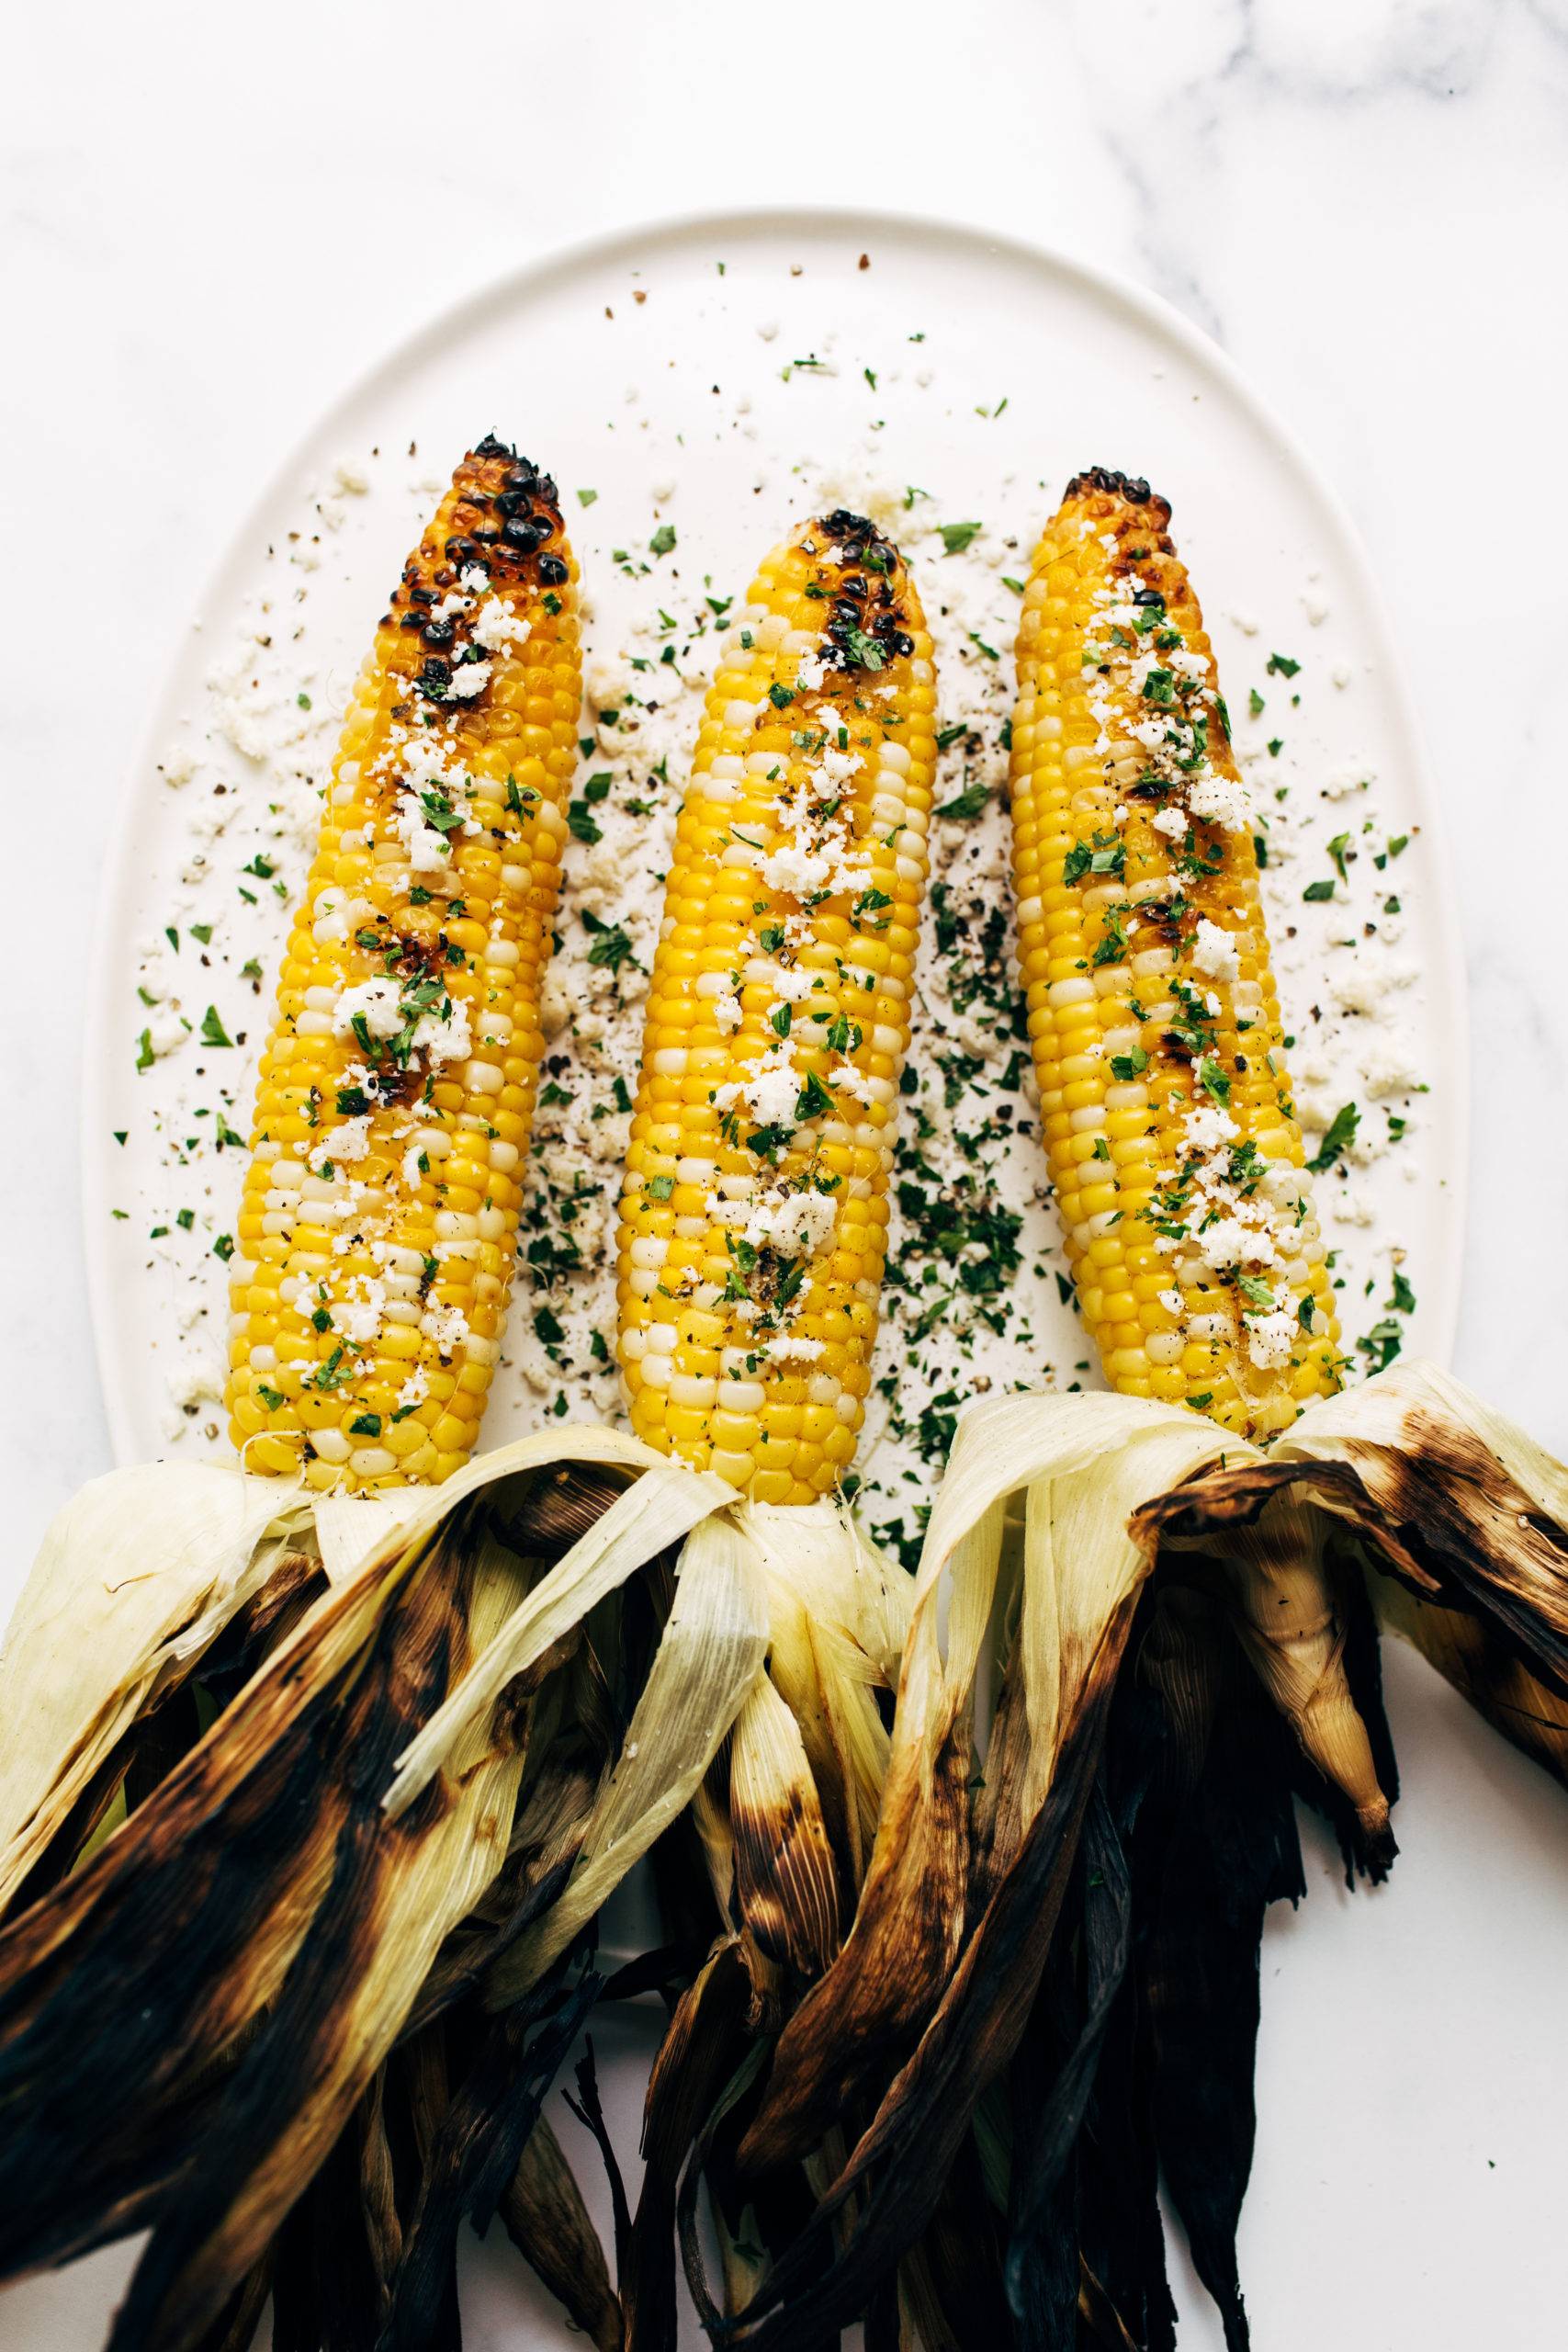
- Removing the silk: Pull back the husks and remove as much of the silk as you can (don’t worry, any remaining bits will burn off), then gently fold the husks back up to create a perfect little natural steaming tent for your corn. You can also just toss on a whole cob easy peasy and then just shuck it all after grilling but it’s a little a messier…and hotter …to do it that way.
- To soak or not to soak: There is some debate as to whether this really helps add some extra moisture to your corn and prevents the husk from burning. Spoiler alert: some of the husk will burn no matter what! But the corn inside will stay steamed and tender. If you do choose to soak, set your fully husked cobs in a bowl of water for about 15-20 minutes before grilling.
How to Make It Happen
- Gently fold back the husk on your cobs (but don’t remove it), and pull out as much of the silk as you can. Gently fold the husks back up after the silk is removed to create your cute little steam tent. Soak your corn if you’re choosing to do so.
- Preheat your grill to medium-high heat (about 375-450 degrees F).
- Place corn with the husks folded up directly on grates and grill for about 20-22 minutes, rotating to ensure even charring around the husk.
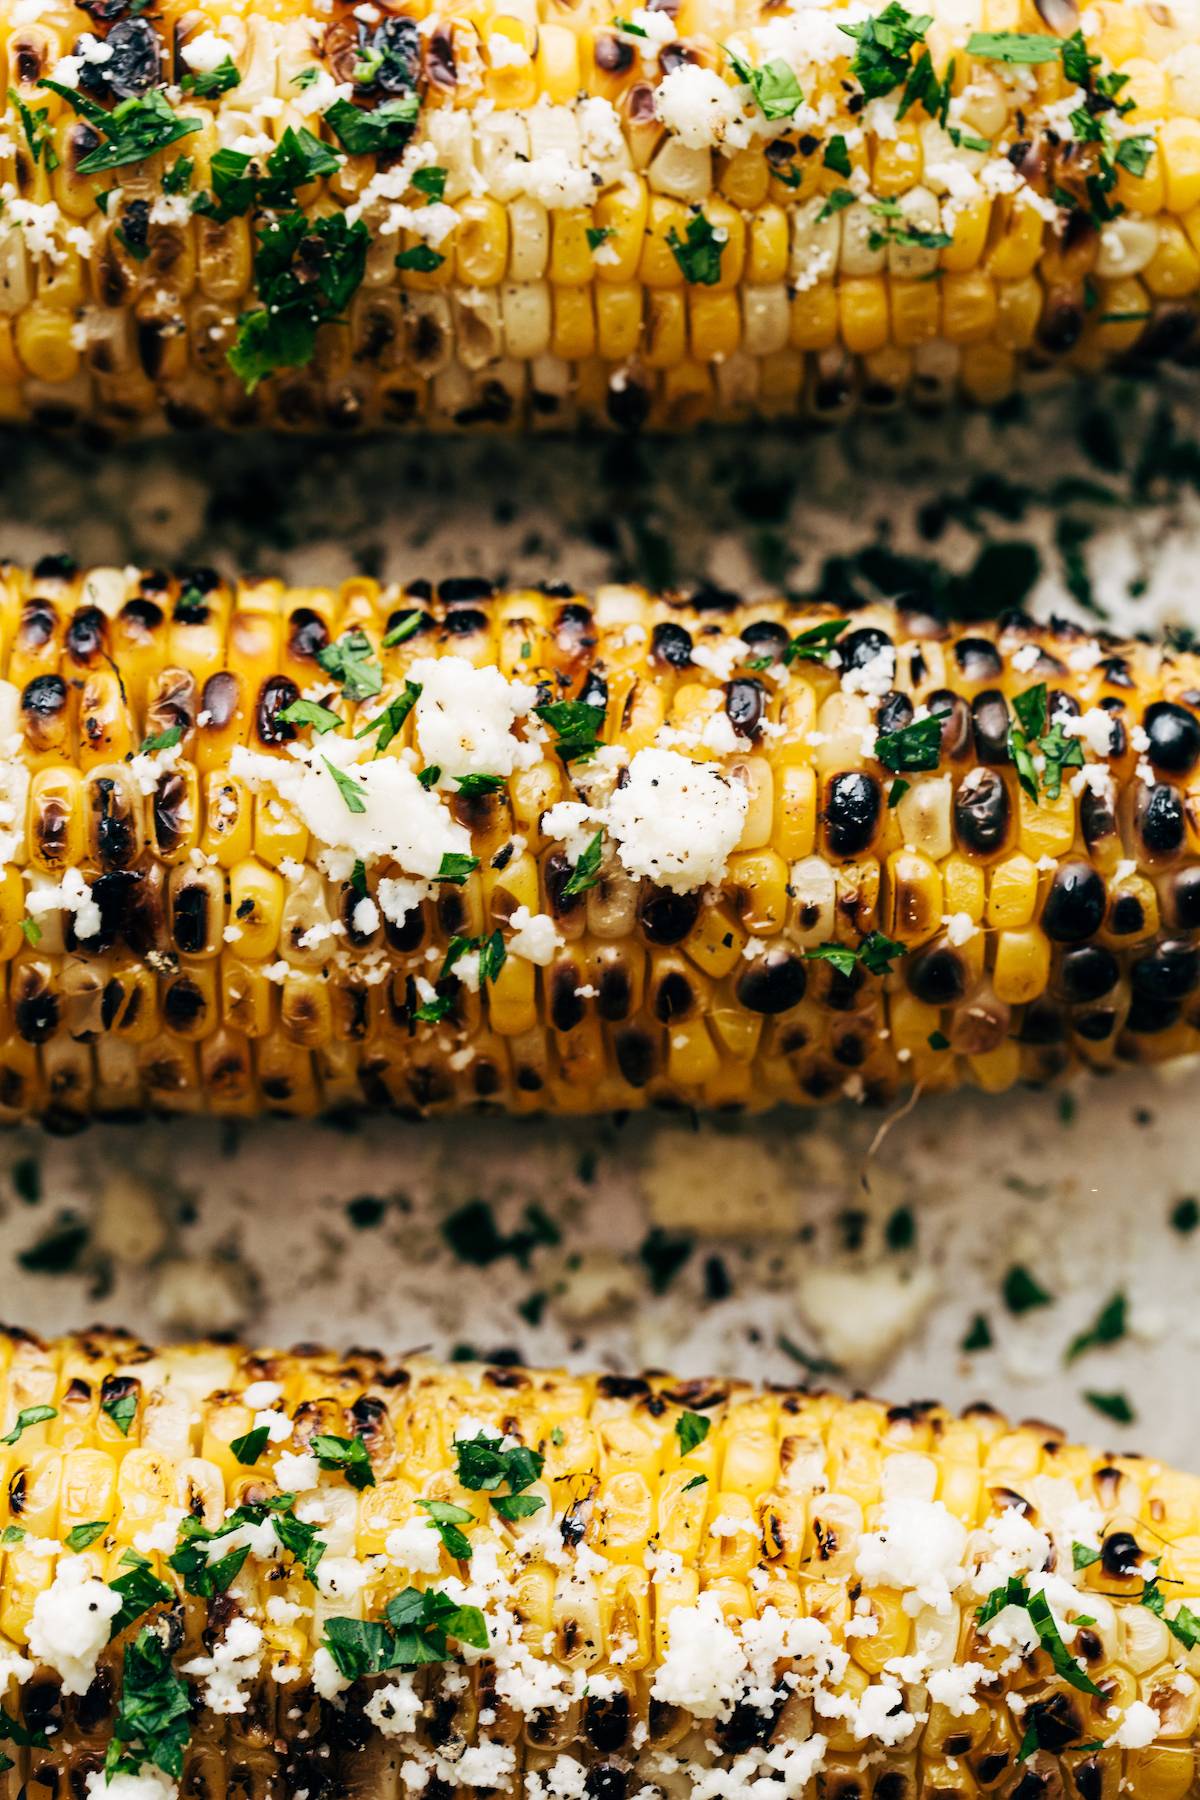
- Corn is done when kernels are soft and bright golden yellow and there are tiny bits of char that sneak through the husk flaps. YUM!
- Once cooled enough, serve corn by pulling back the husk and using it like a handle OR remove completely. Little pokey corn holders optional.
Why this method is great: the prep is pretty easy and it is the perfect blend of moist kernels from the husk-steam, and char flavor from direct grill contact.
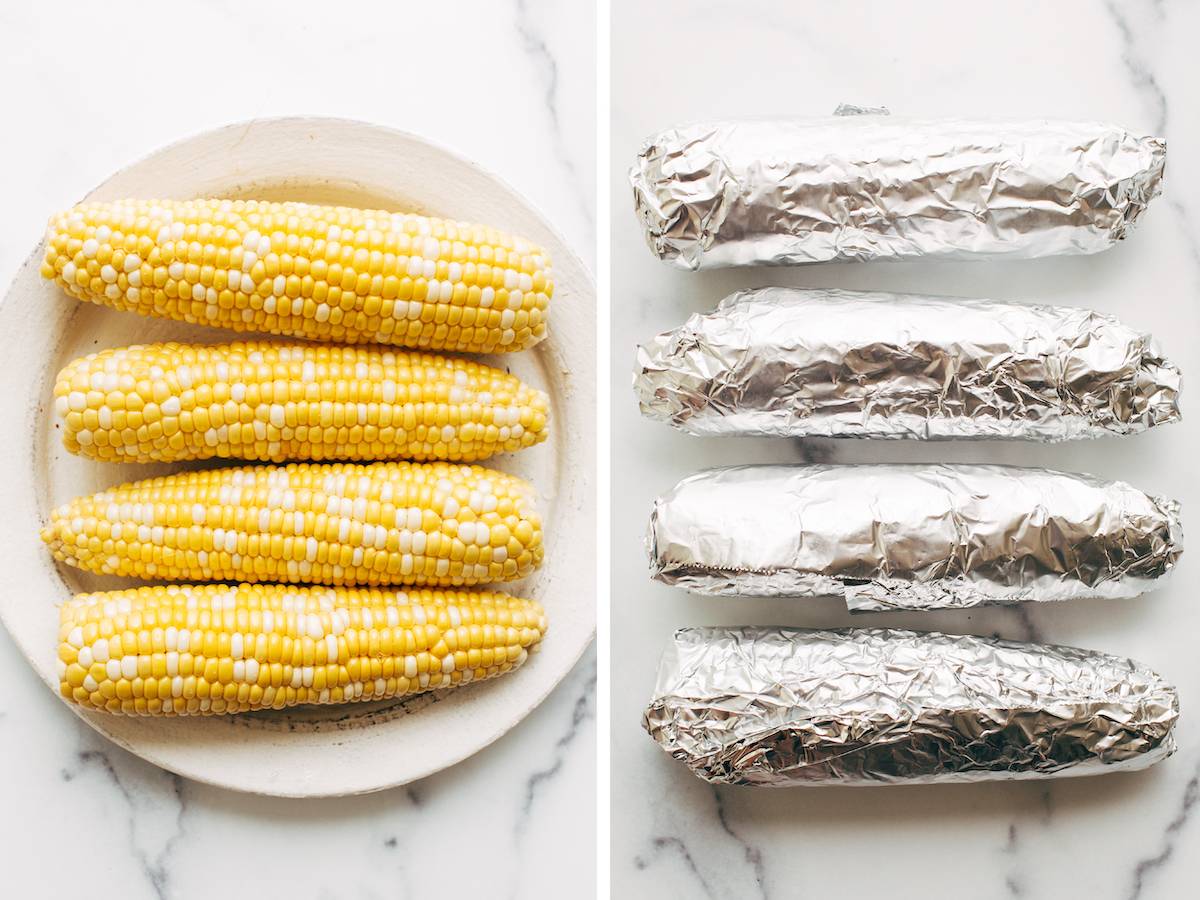
Method 2: Grilling Corn In Foil
This method is super easy, hands-off and will definitely give the most moist corn of all the methods. That said, you lose out on some of that perfect smoky summer char flavor since the corn never touches the direct heat. It also takes a bit longer on the prep side of things.
How to Make it Happen
- Completely remove husks and silks from corn. Wrap cobs completely in heavy duty aluminum foil (you can sneak a little butter/olive oil and any other seasoning in there if you like!).
- Preheat your grill to medium-high heat (about 375-450 degrees F).
- Place foiled corn directly on grates. Grill for about 15 minutes, turning occasionally.
- Corn is done when kernels are soft and bright golden yellow.
Why this method is great: the corn will stay warmer longer because you can just leave it in the foil until you are ready to serve. Great if you’re serving a big group!
Method 3: Grilling Corn On The Grates
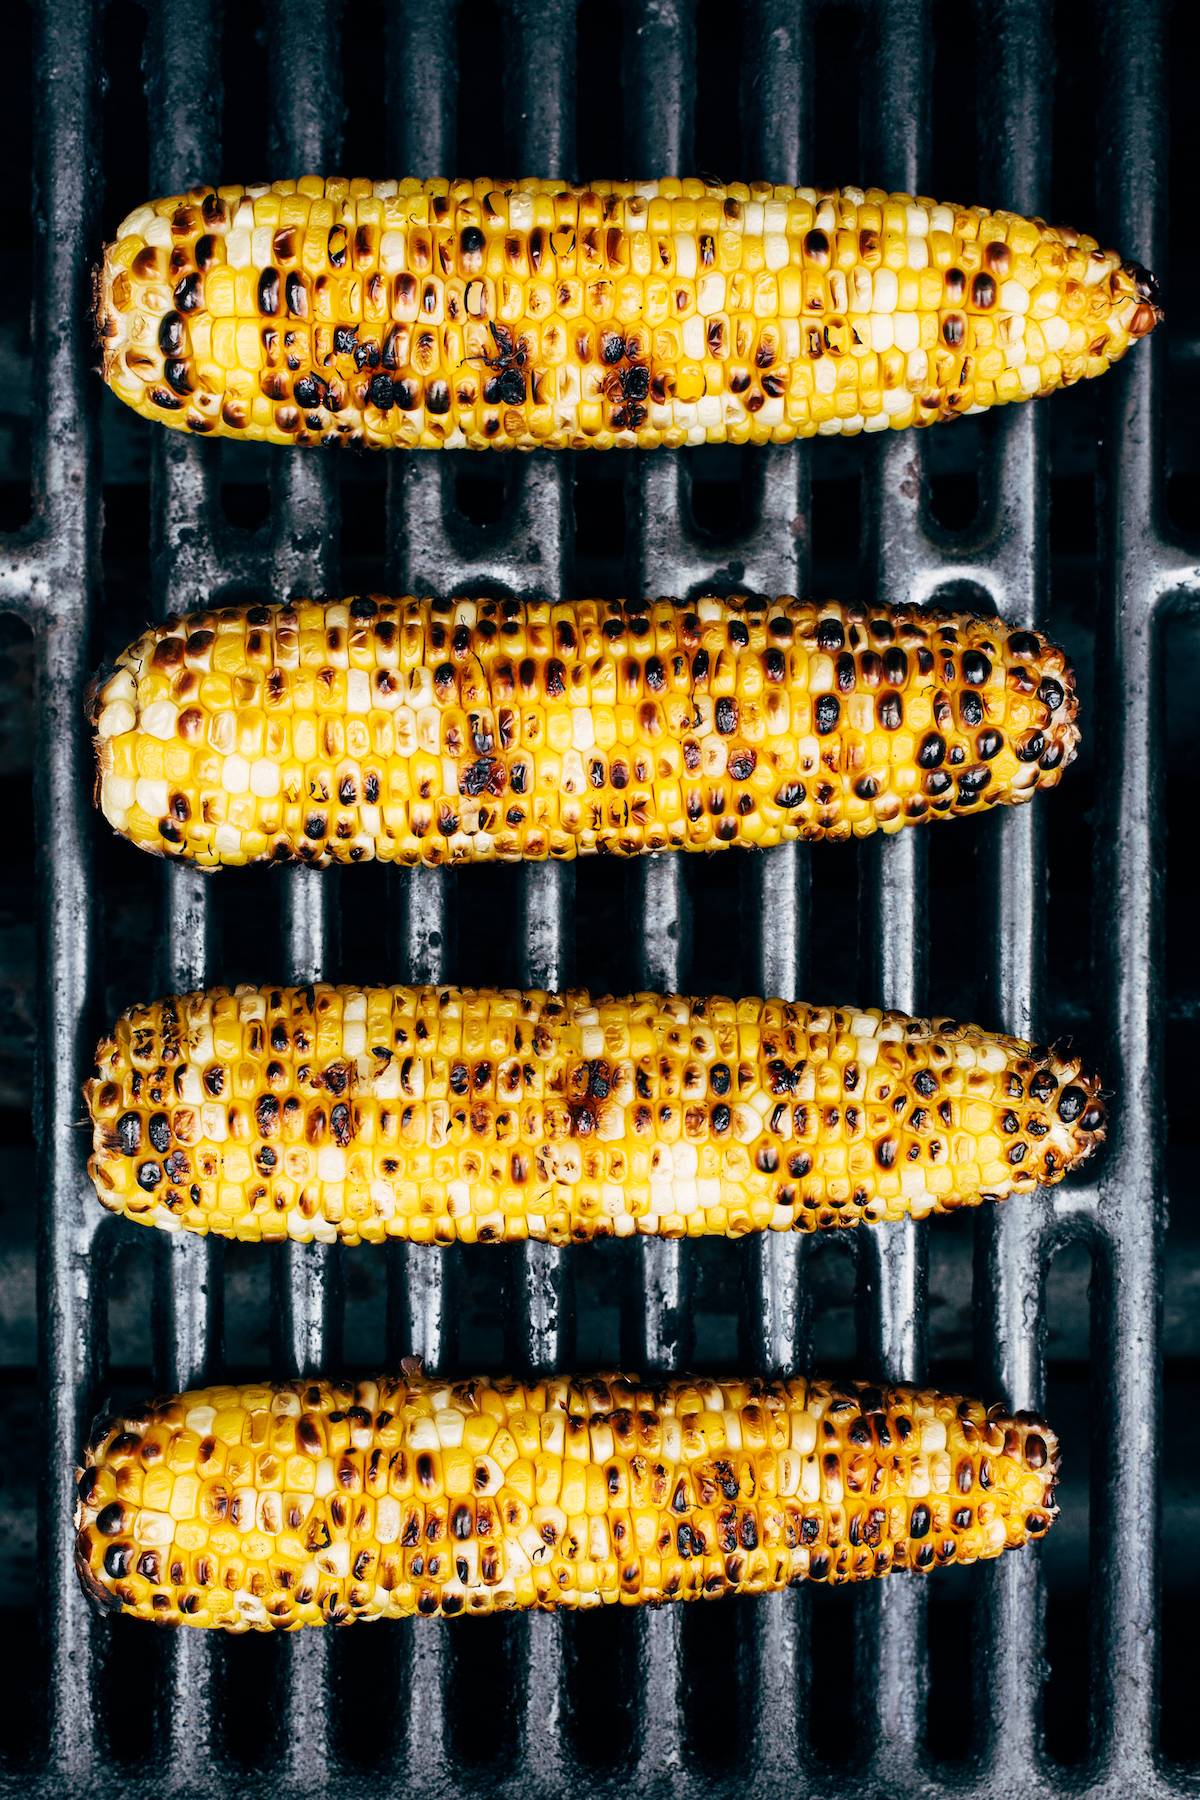
This of course will give you the grilliest of grilly flavors because hello, you’re slapping those bare cobs right on the grates! This method will make the corn a teensy bit drier than the other two methods, but the smoky, caramely, sweet-char flavor CANNOT BE BEAT.
How to Make It Happen
- Completely remove husks and silks from corn (don’t worry, any remaining silk bits will burn off).
- Preheat your grill to medium-high heat (about 375-450 degrees F).
- Place cobs directly on grates and grill for about 10 minutes, turning occasionally for even cooking.
- Corn is done when kernels are bright golden yellow and is evenly charred on all sides.
Why this method is great: the corn cooks more quickly than the other methods and the smoky char flavor is out of this world.
How To Cut Corn Off The Cob
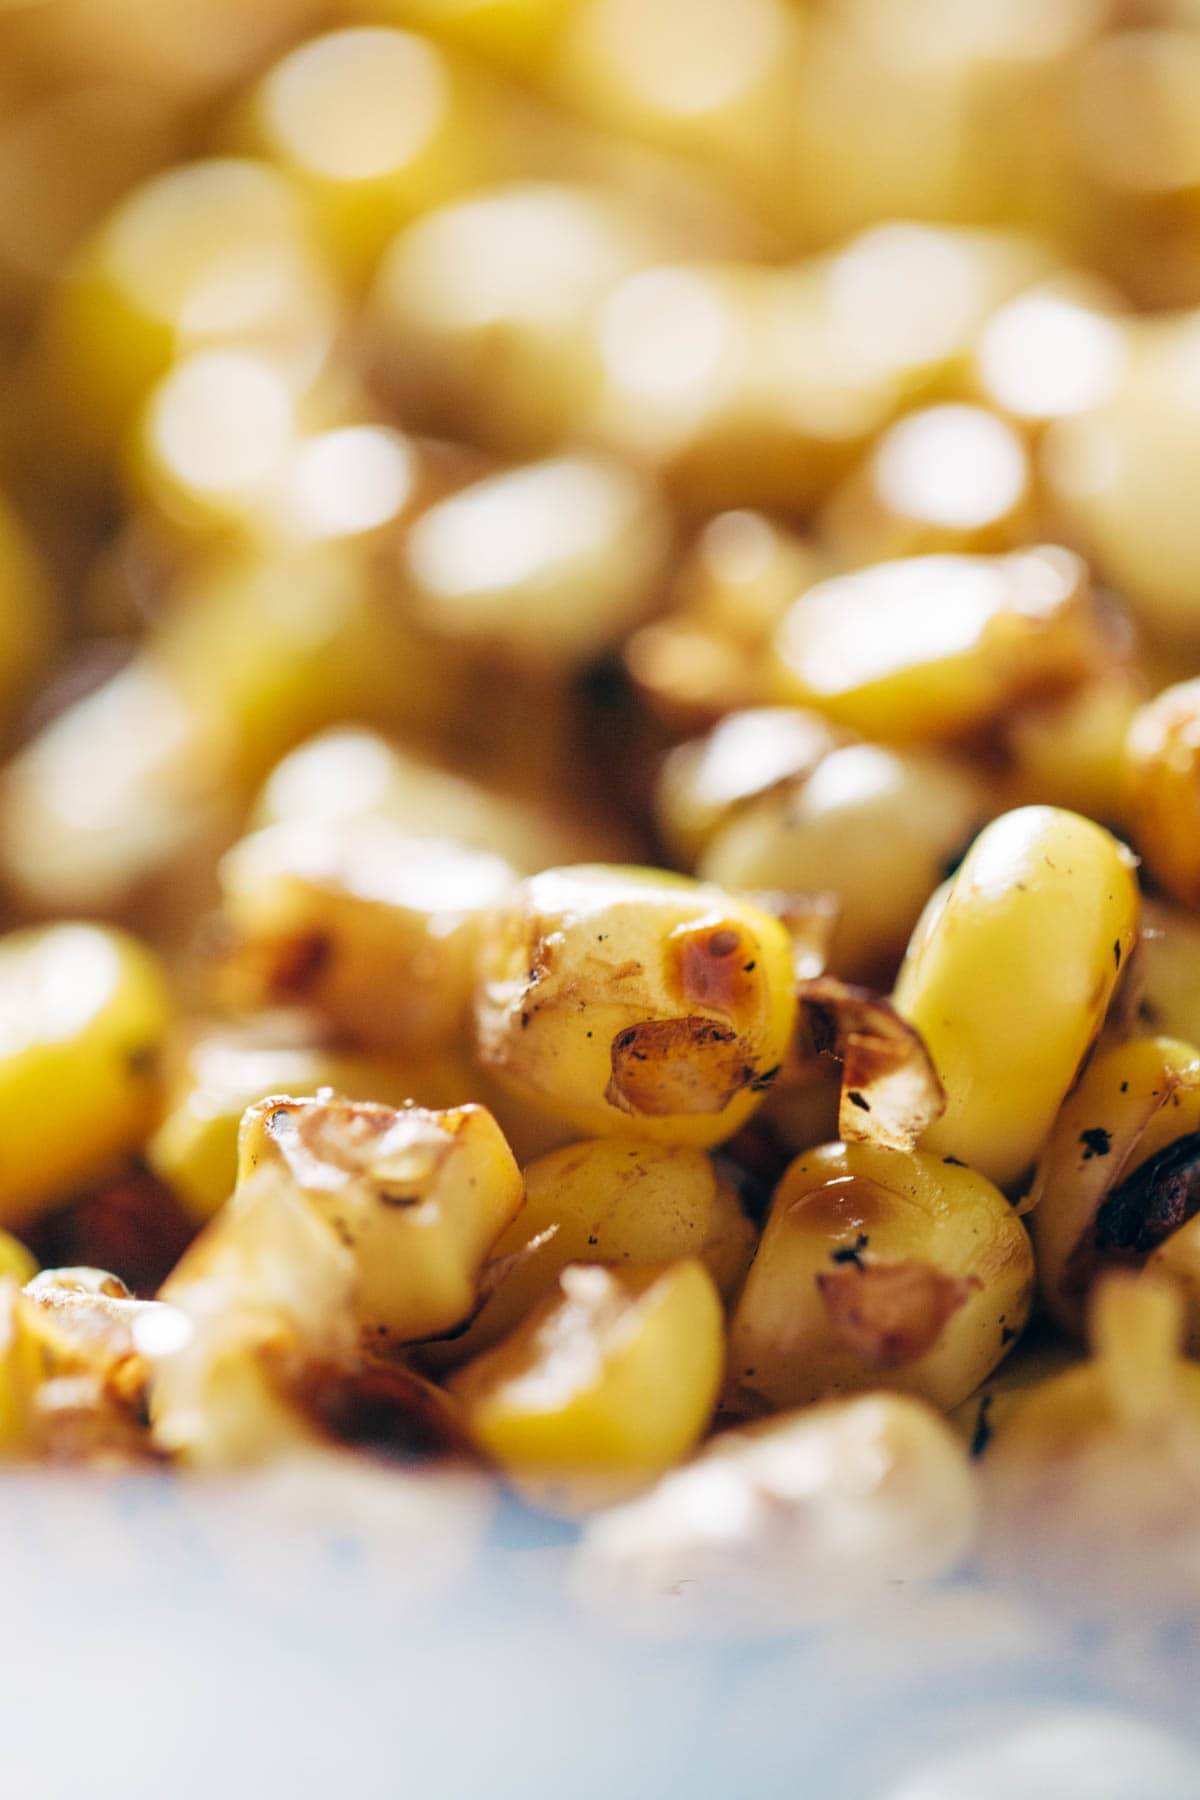
Maybe you’re not keen on chomping corn off the cob or maybe you remembered that grilled fresh corn can be an absolutely amazing add to salads, salsas, pastas, etc., so you want to get those kernels from the cob. Here we go:
- Grill corn using your preferred method.
- Place grilled corn upright on a plate or bowl, larger flat side down. BONUS TIP: Stick the corn in the center of a bundt pan to hold it steady, and all the kernels will fall into it.
- Take a sharp knife and place it at the base of the kernels as best you can and run it down the sides of the cob. Some of them fly away yearning to be free, but most of those golden grilled beauties will be gathered in your bowl or bundt pan, ready for serving.
How To Pick The Best Corn For Grilling
It’s always best to grab the freshest corn possible. As soon as corn is picked from the stalk, those natural sugars start to break down into starches so the dream of dreams would be to grab it from the farmer’s market or farm stand and then grill it that night. But…that isn’t everyone’s life.
Here are some tips for buying the freshest corn:
- Look for husks that are bright green, tightly wrapped and feel just a little damp.
- Avoid any husks that have little brown holes as that is a sign of insects.
- Corn should be firm all the way around when squeezed (nothing squishy or parts that are clearly missing kernels).
- The corn silk peeking out the top should be light brown or golden and smell slightly sweet (avoid any that are dry, black or mushy).
Favorite Things To Make Grilling Corn Easy and Delicious
All you really need for this is a grill and some corn (and maybe a frosty cold cocktail while you do it?), but if you what to really up the experience, there are a few things we love to use.
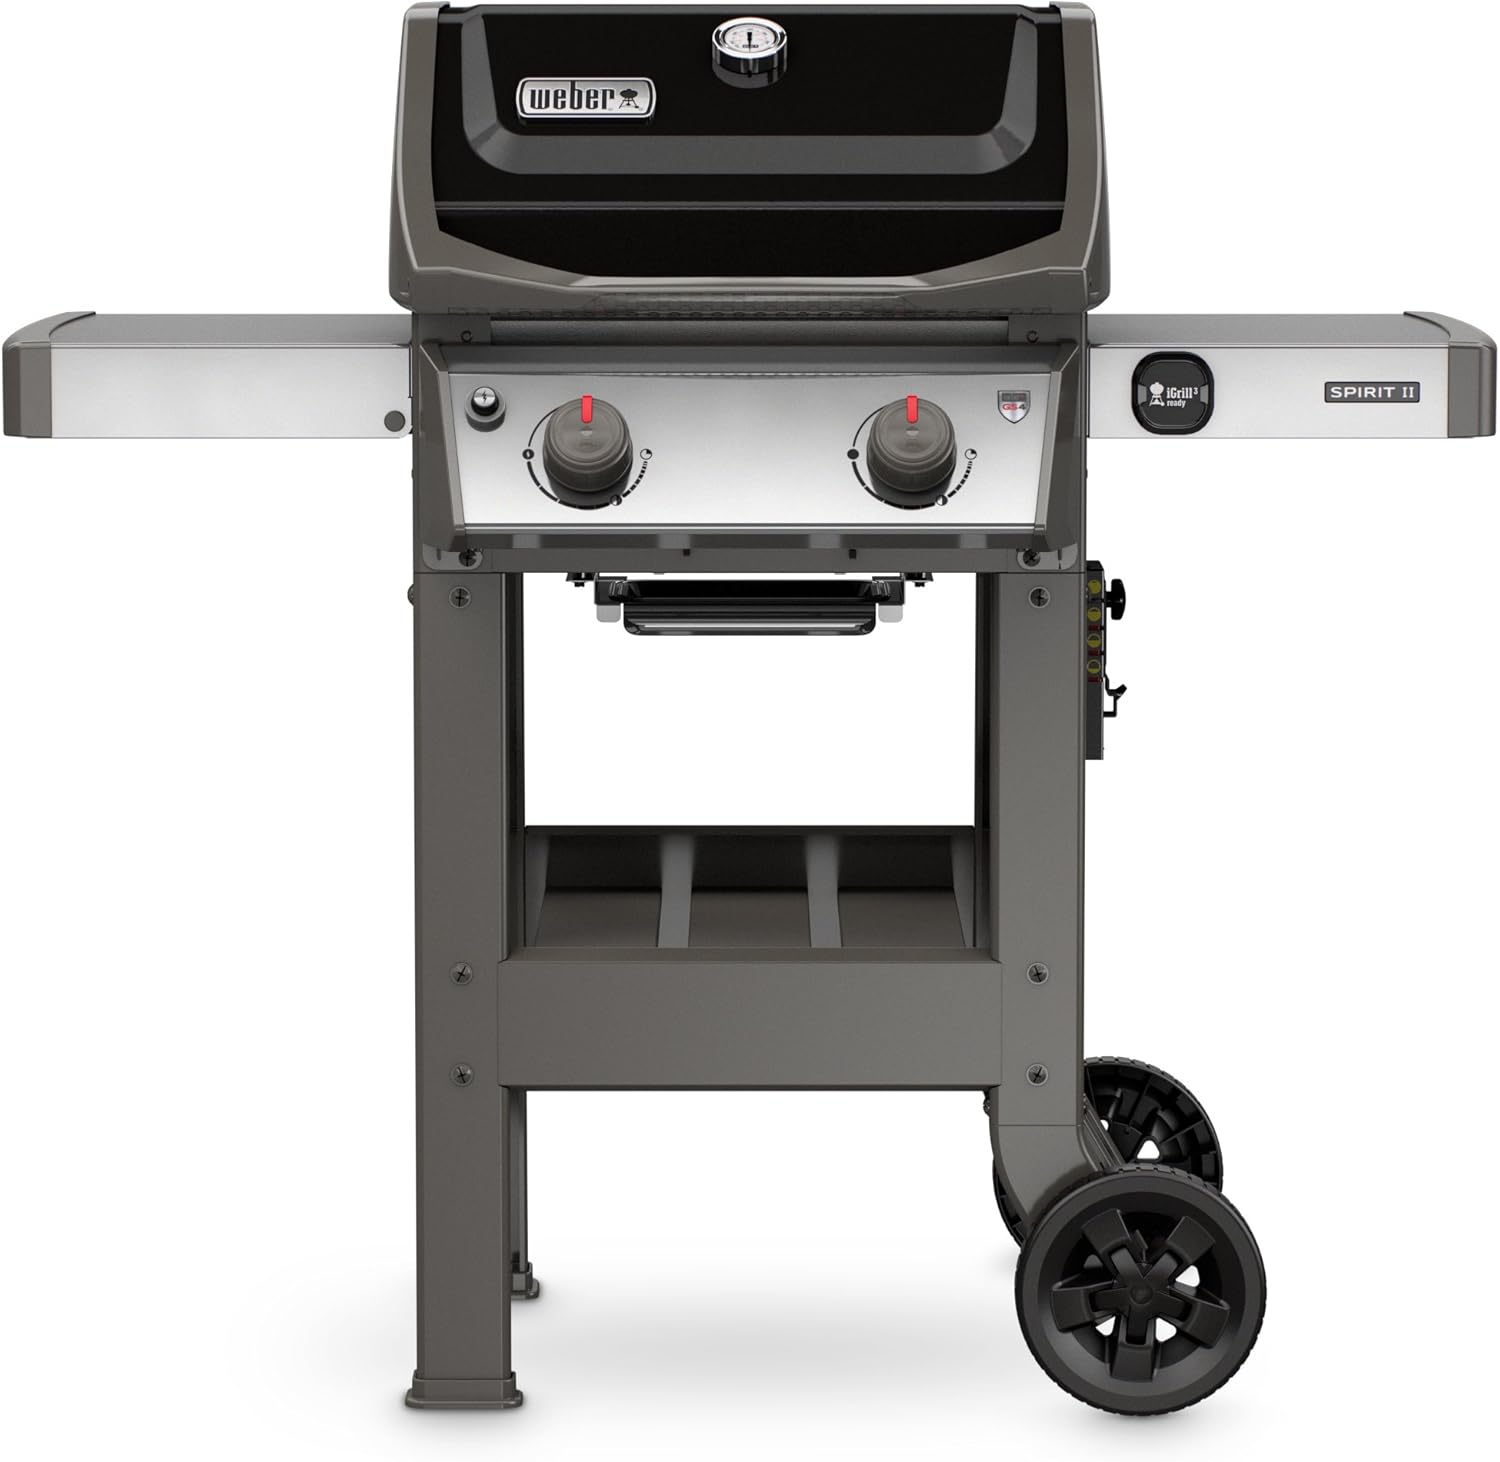
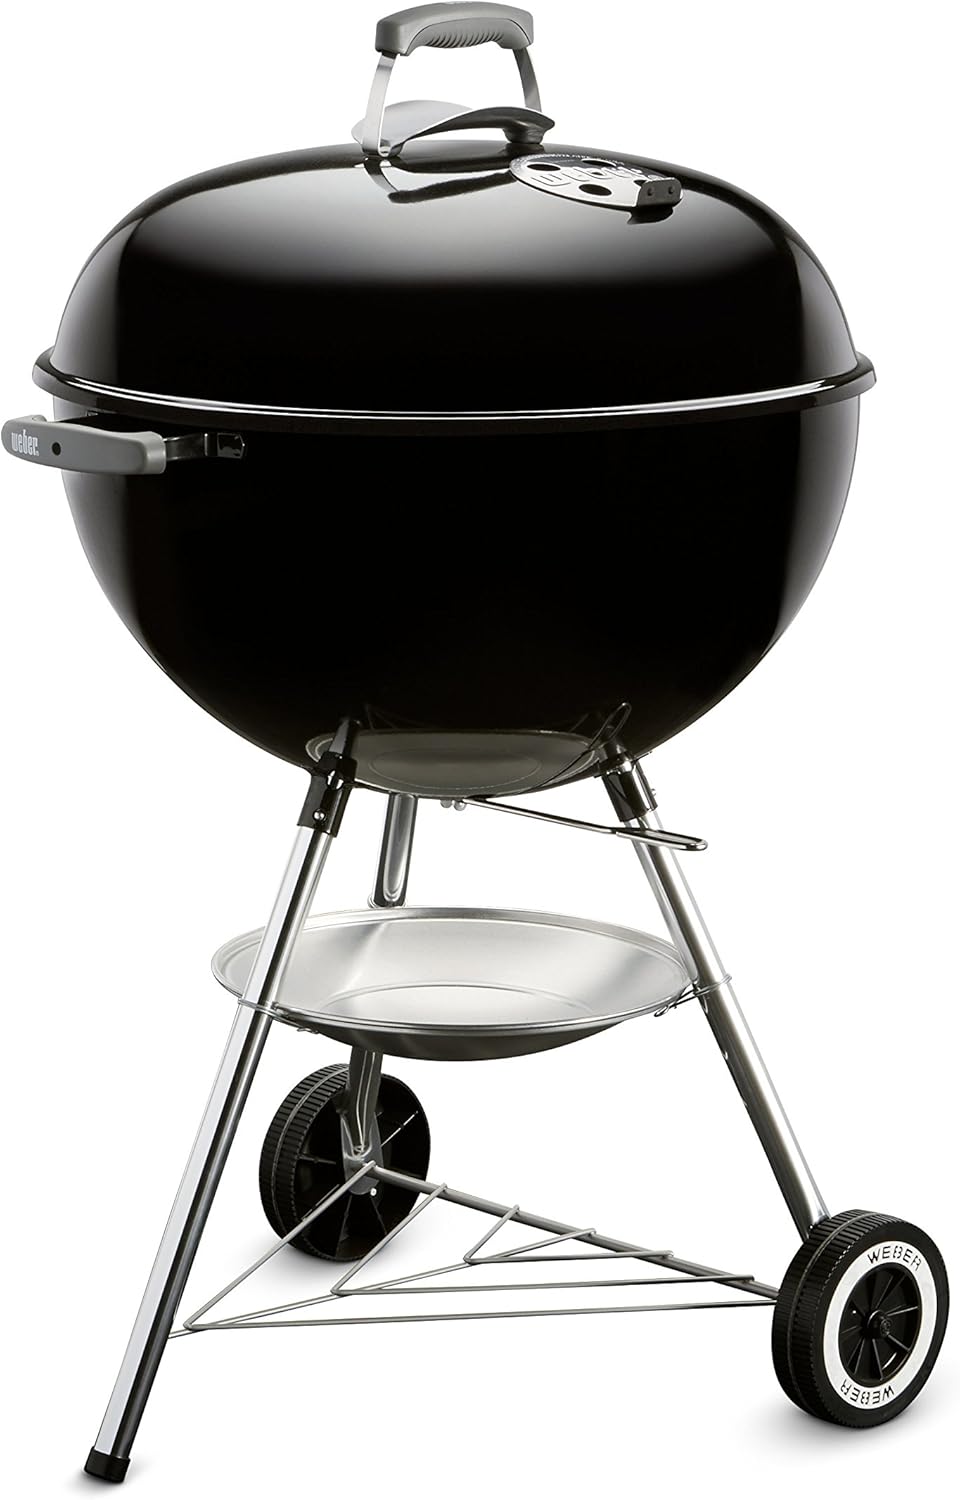
- Excellent Propane or Charcoal Grill: We like a propane grill* for ease, and a charcoal grill* for flavor. Weber, FTW!
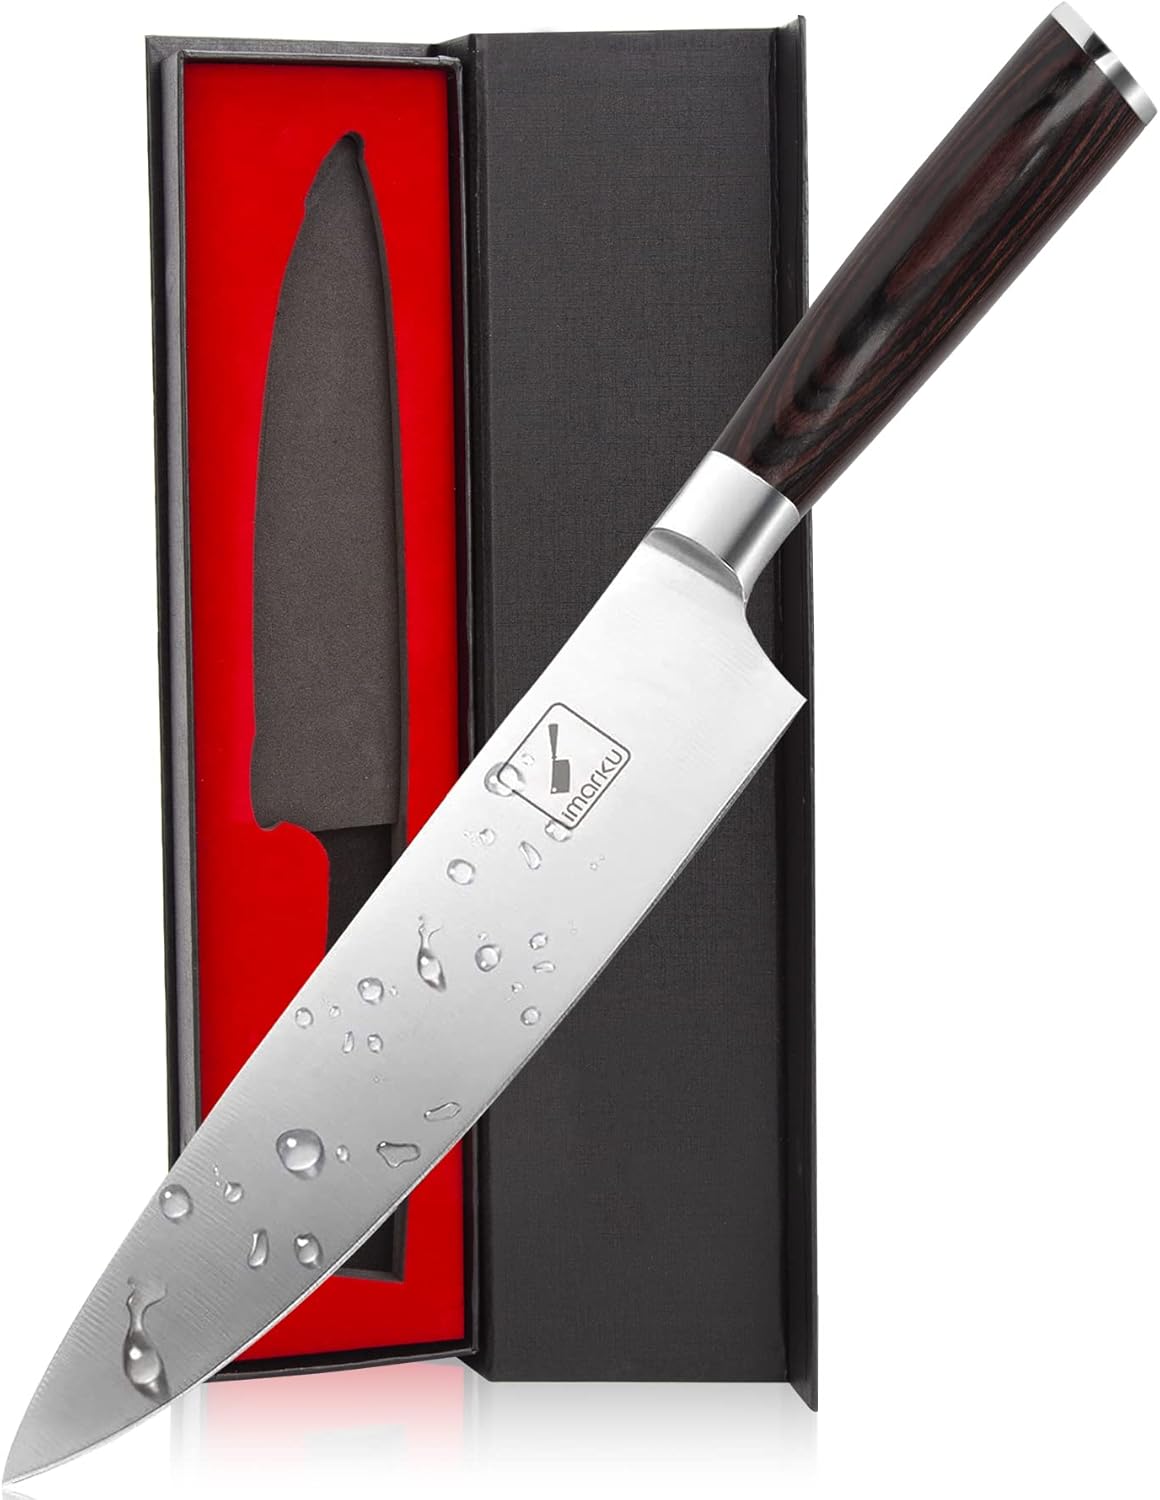
- Good, Sharp Chef’s Knife: If you’re cutting kernels off the cob, this knife* is a necessity.
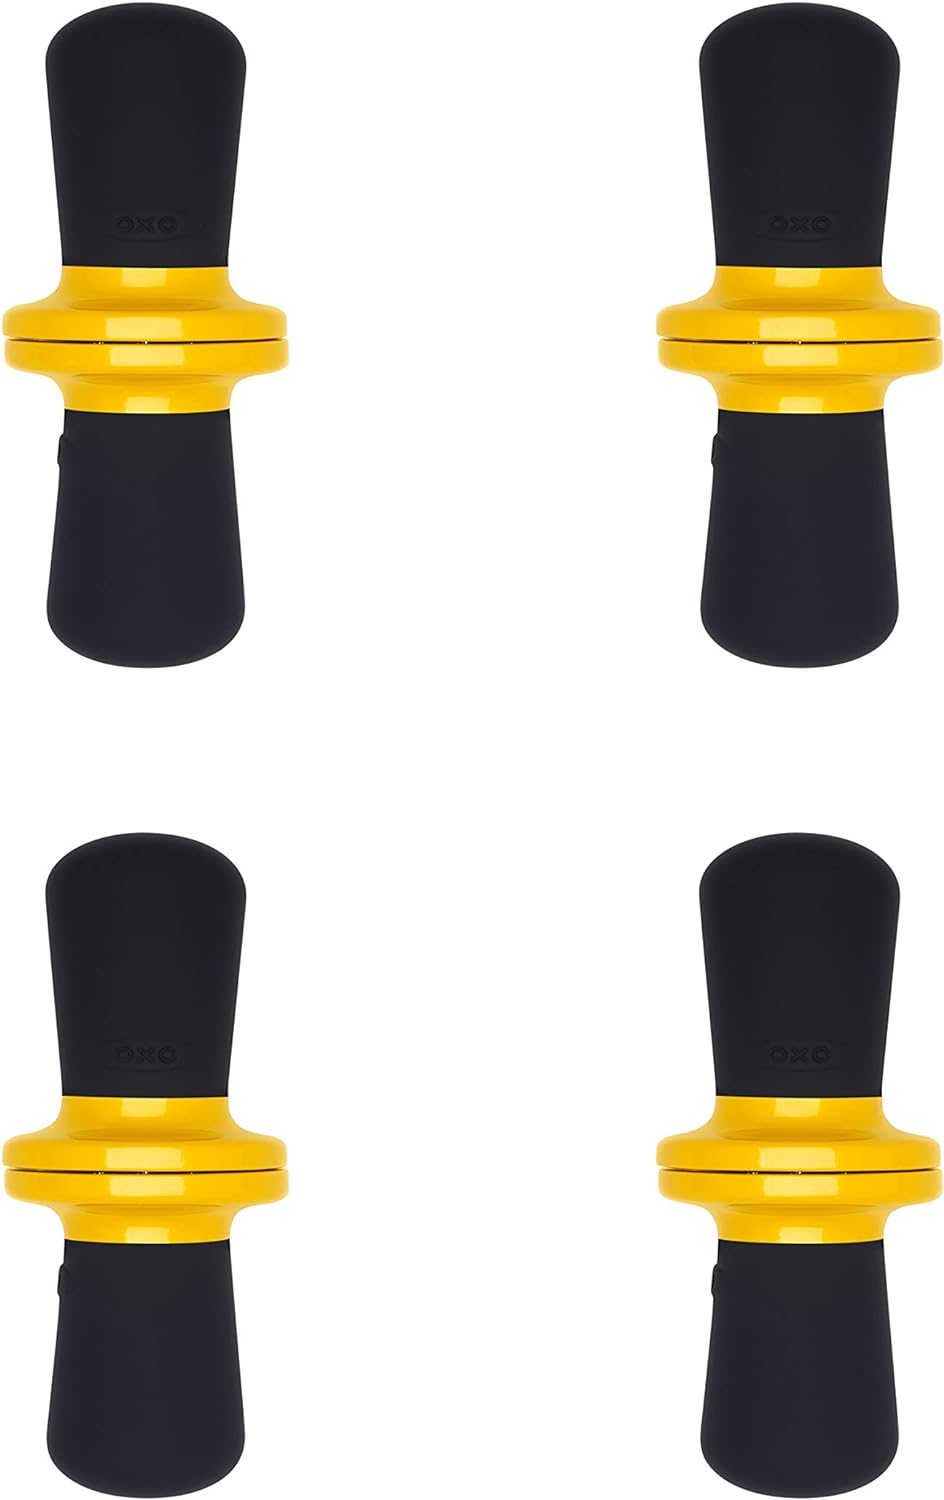
- Practical (and Cute) Corn Holders: These corn holders* are our go-to, but also HOW CUTE ARE THESE.*
- All the Toppings: Things like cotija cheese, high quality mayo*, and chile lime seasoning* for elote-style, or good butter and smoked salt* for classic but elevated corn on the cob.
Products For Grilling Corn
 Buy Now →
 Buy Now →
 Buy Now →
 Buy Now →
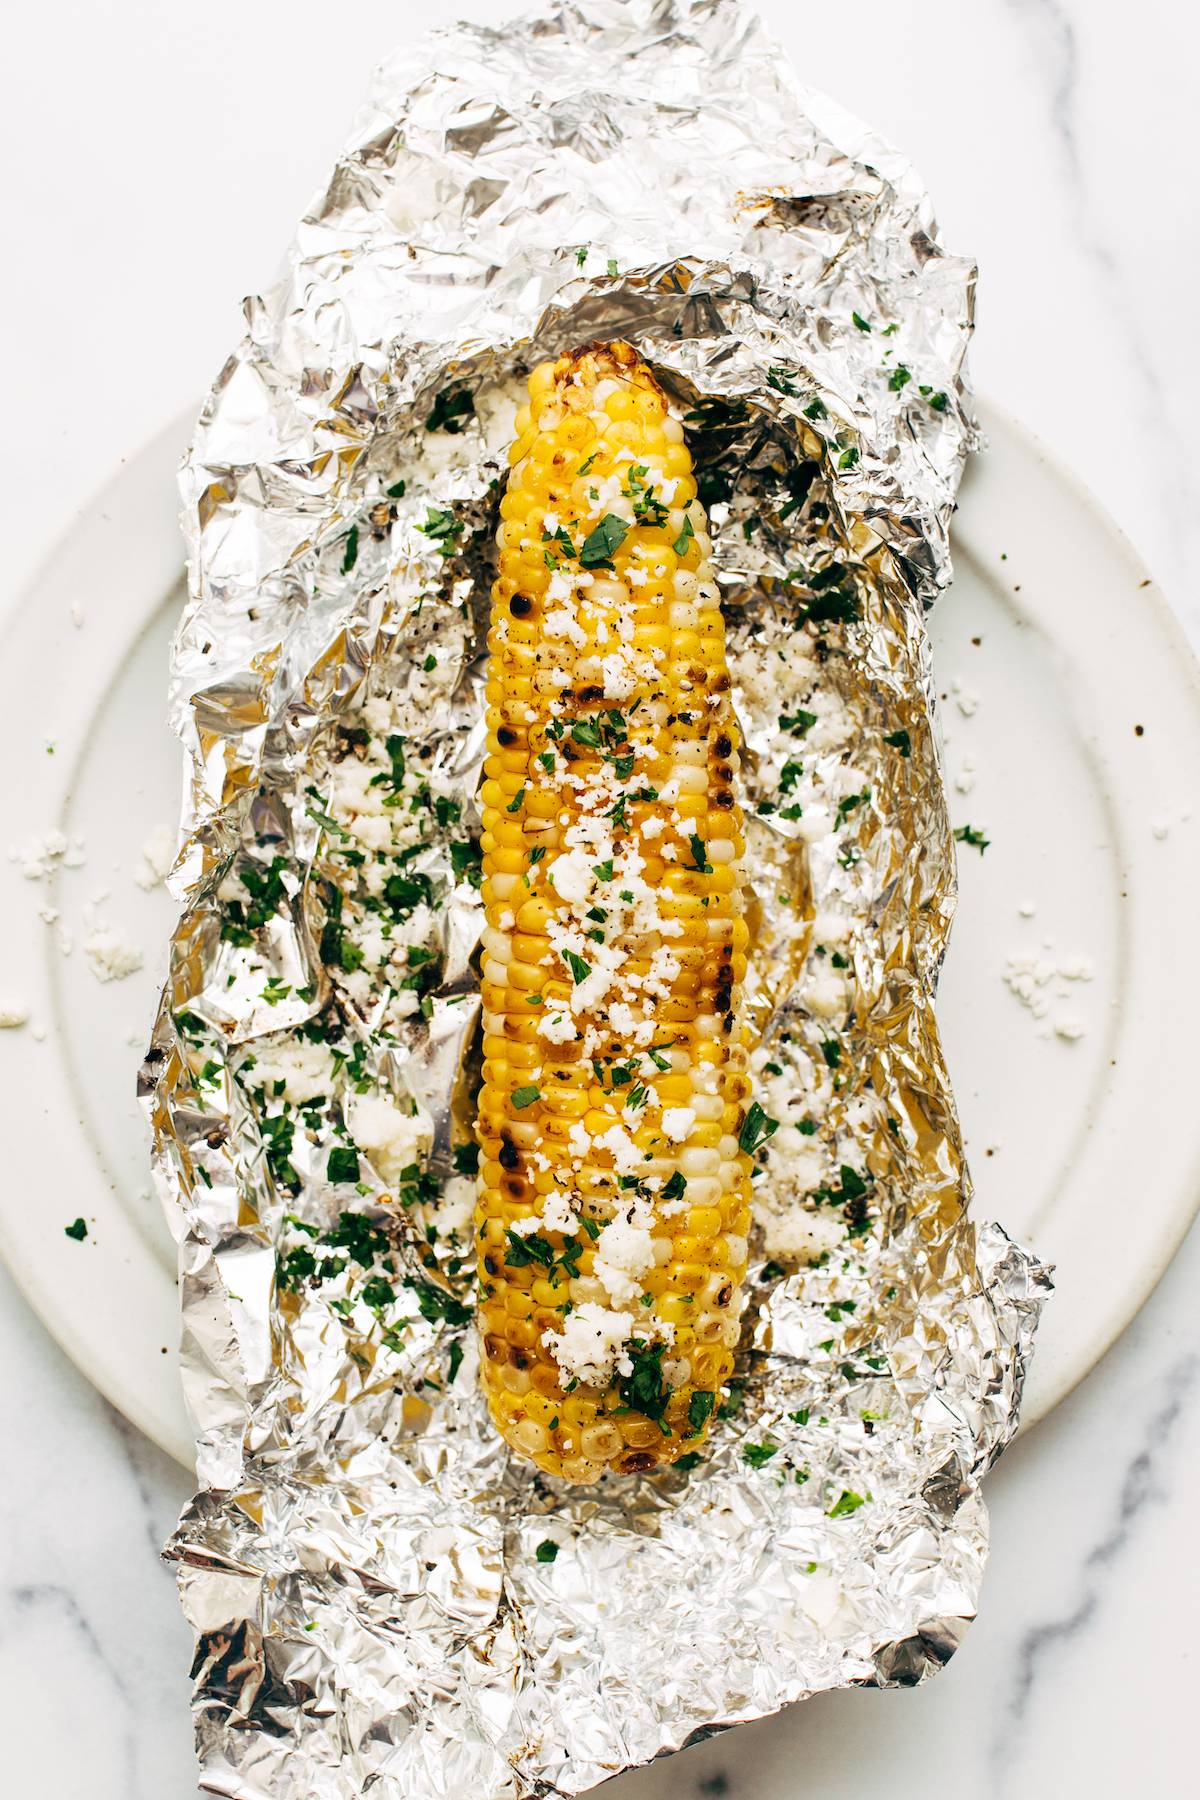
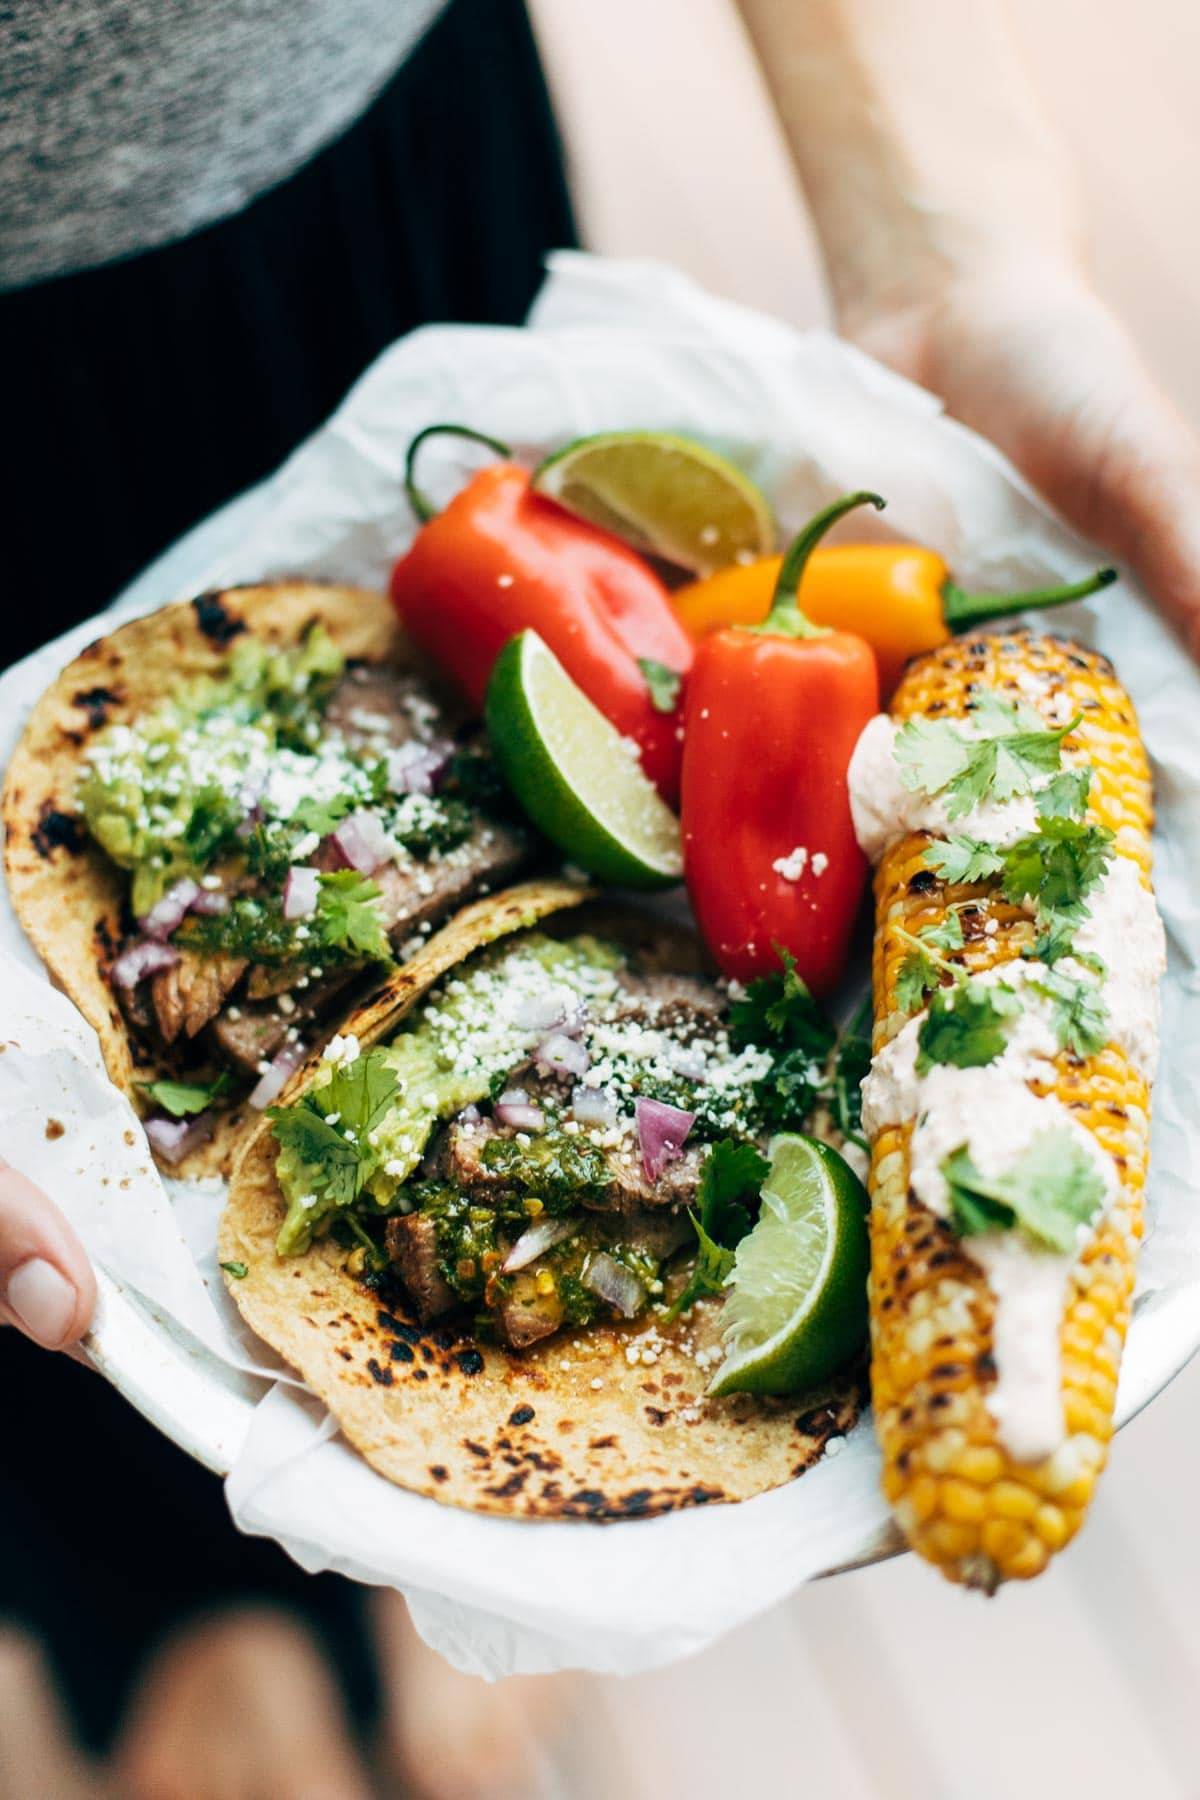
Ways To Serve Grilled Corn (Flavor Ideas!)
- Classic: Butter, salt, and pepper. Perfection.
- Classic But Elevated: Flavored or homemade compound butter with fresh herbs, smoked flaky salt, fresh-cracked pepper.
- Elote-Style: Mayo/sour cream, jalapeño, chile-lime seasoning, cotija cheese, squeeze of lime.
- Pesto-Style: Slather your corn in pesto (homemade or storebought) and sprinkle with grated parmesan cheese.
- BBQ-Syle: Rub the corn with your favorite BBQ rub, salt, and pepper before grilling.
The Best Recipes Using Grilled Corn
Other than slathering the cob with butter and salt, or maybe some fresh lime squeezes and salty cotija cheese, here are some of our fave recipes including that sweet sweet corn!
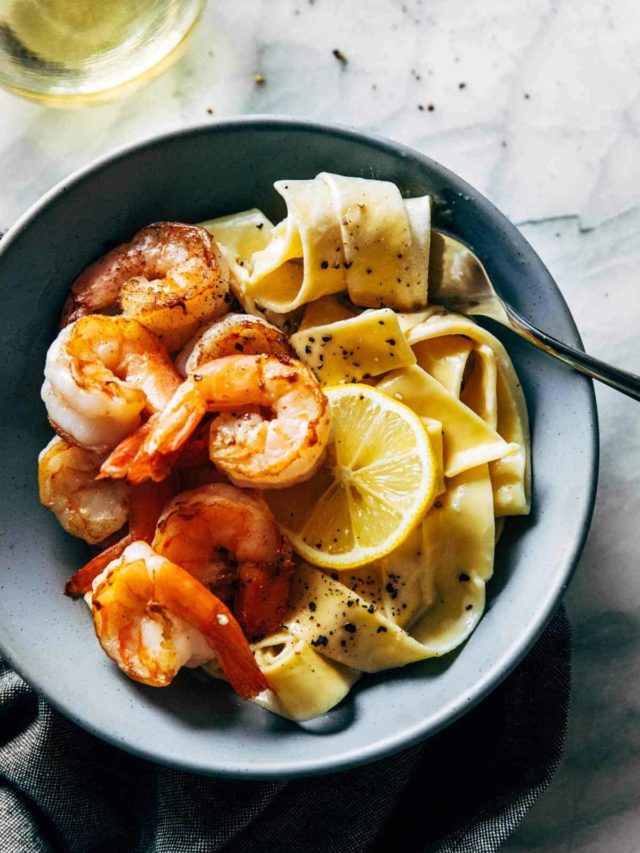
- Creamy Shrimp Pasta with Corn and Tomatoes
- Glowing Grilled Summer Detox Salad
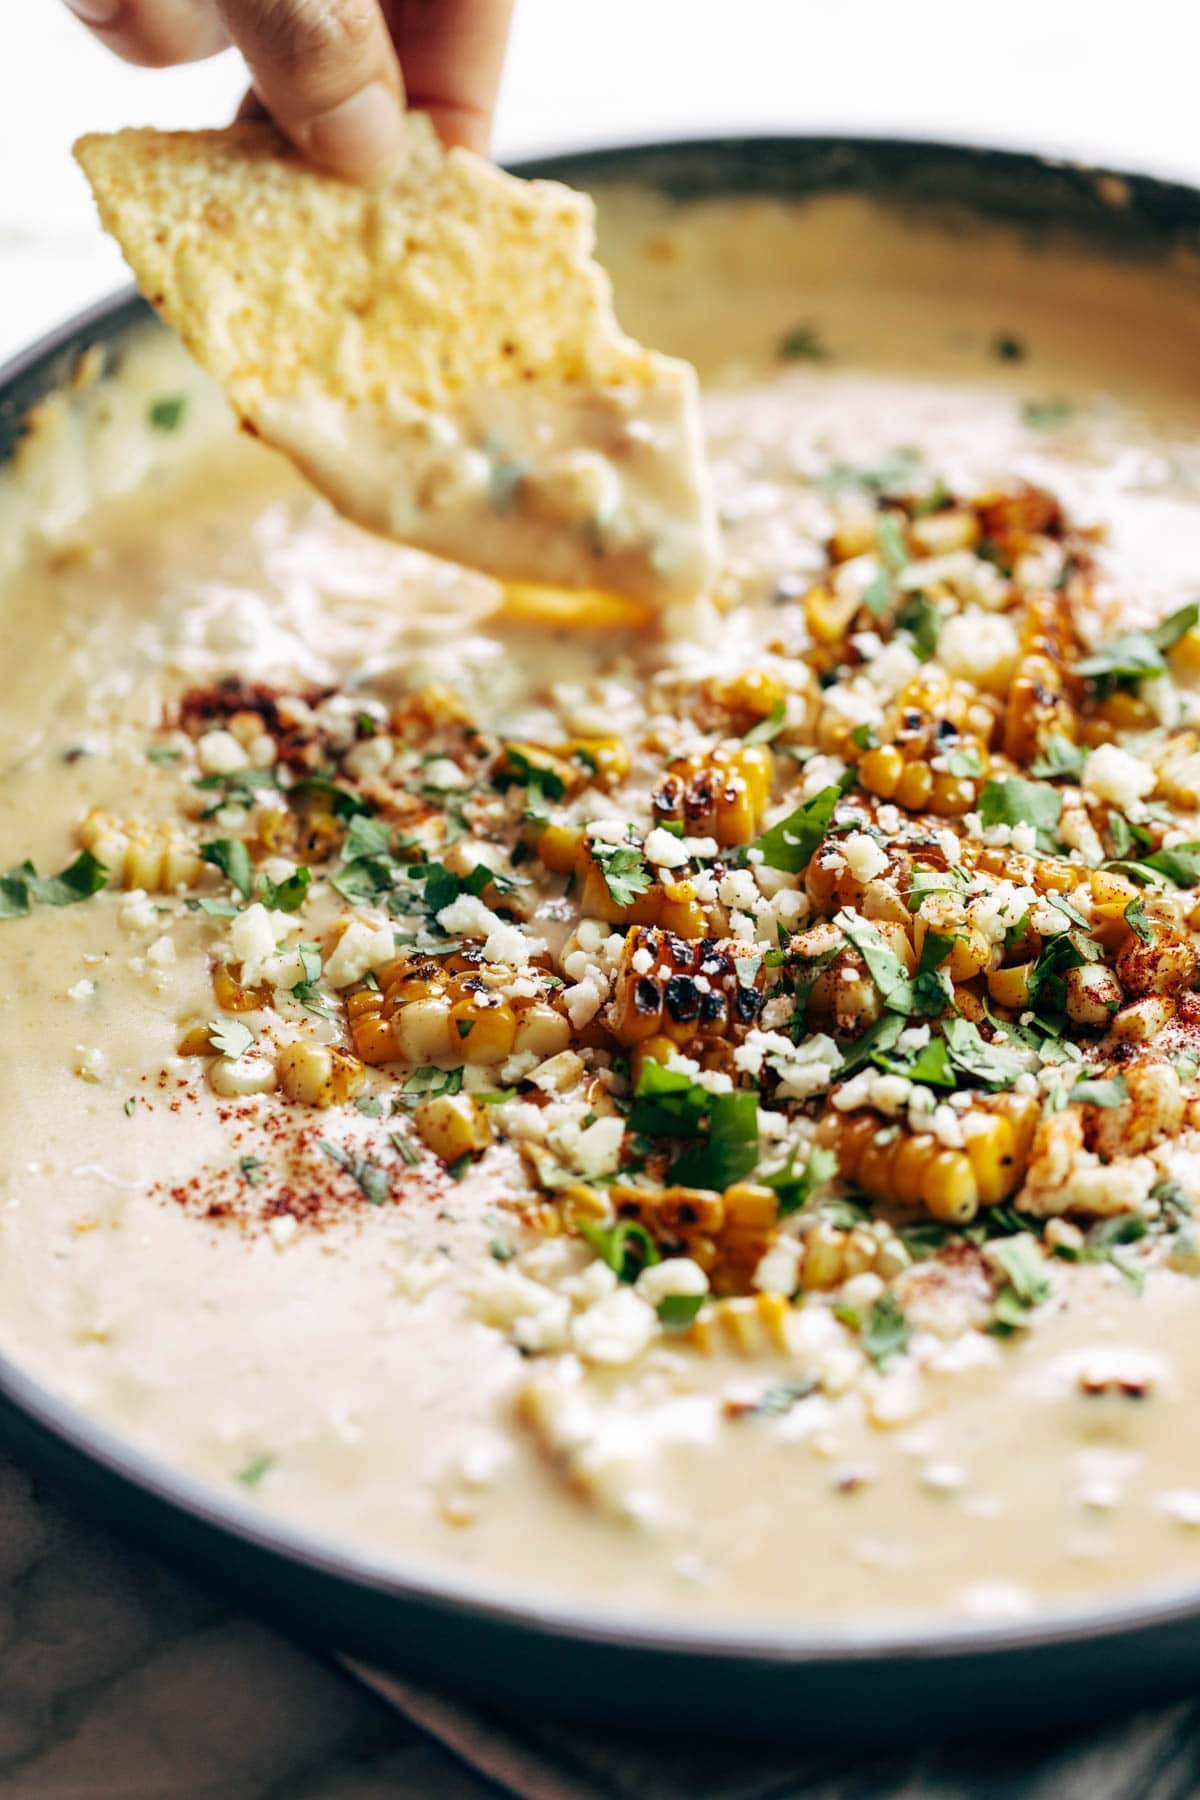
- Elote Queso
- Spicy Southwestern Salad with Avocado Dressing
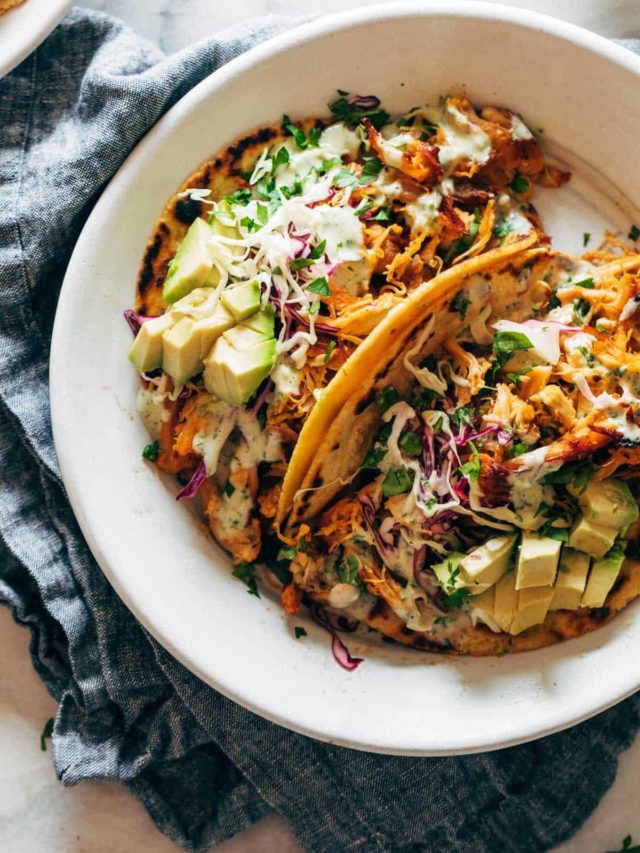
- Brussels Sprouts Tacos
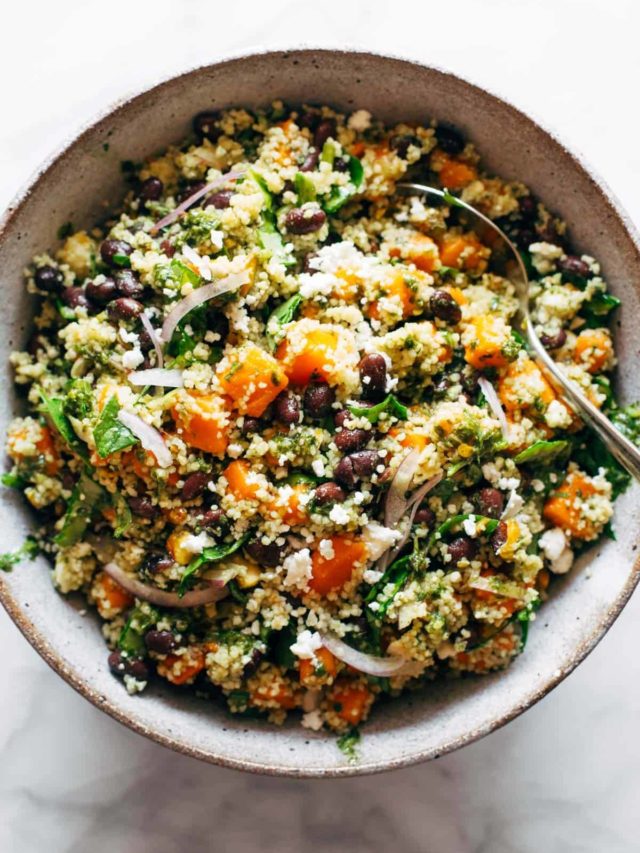
- Chipotle Sweet Potato Noodle Salad with Roasted Corn
What’s your favorite way to grill corn? What are we missing?
Summer on, friends!
The post How to Grill Corn appeared first on Pinch of Yum.